
CDL Hydraulic Brake Test Guide: Pedal, Warning and Assist
A hydraulic-brake check is more than pressing the pedal. A test-ready driver identifies the system, checks visible components, performs the correct stationary tests, verifies low-speed stopping response and knows which result keeps the vehicle parked.
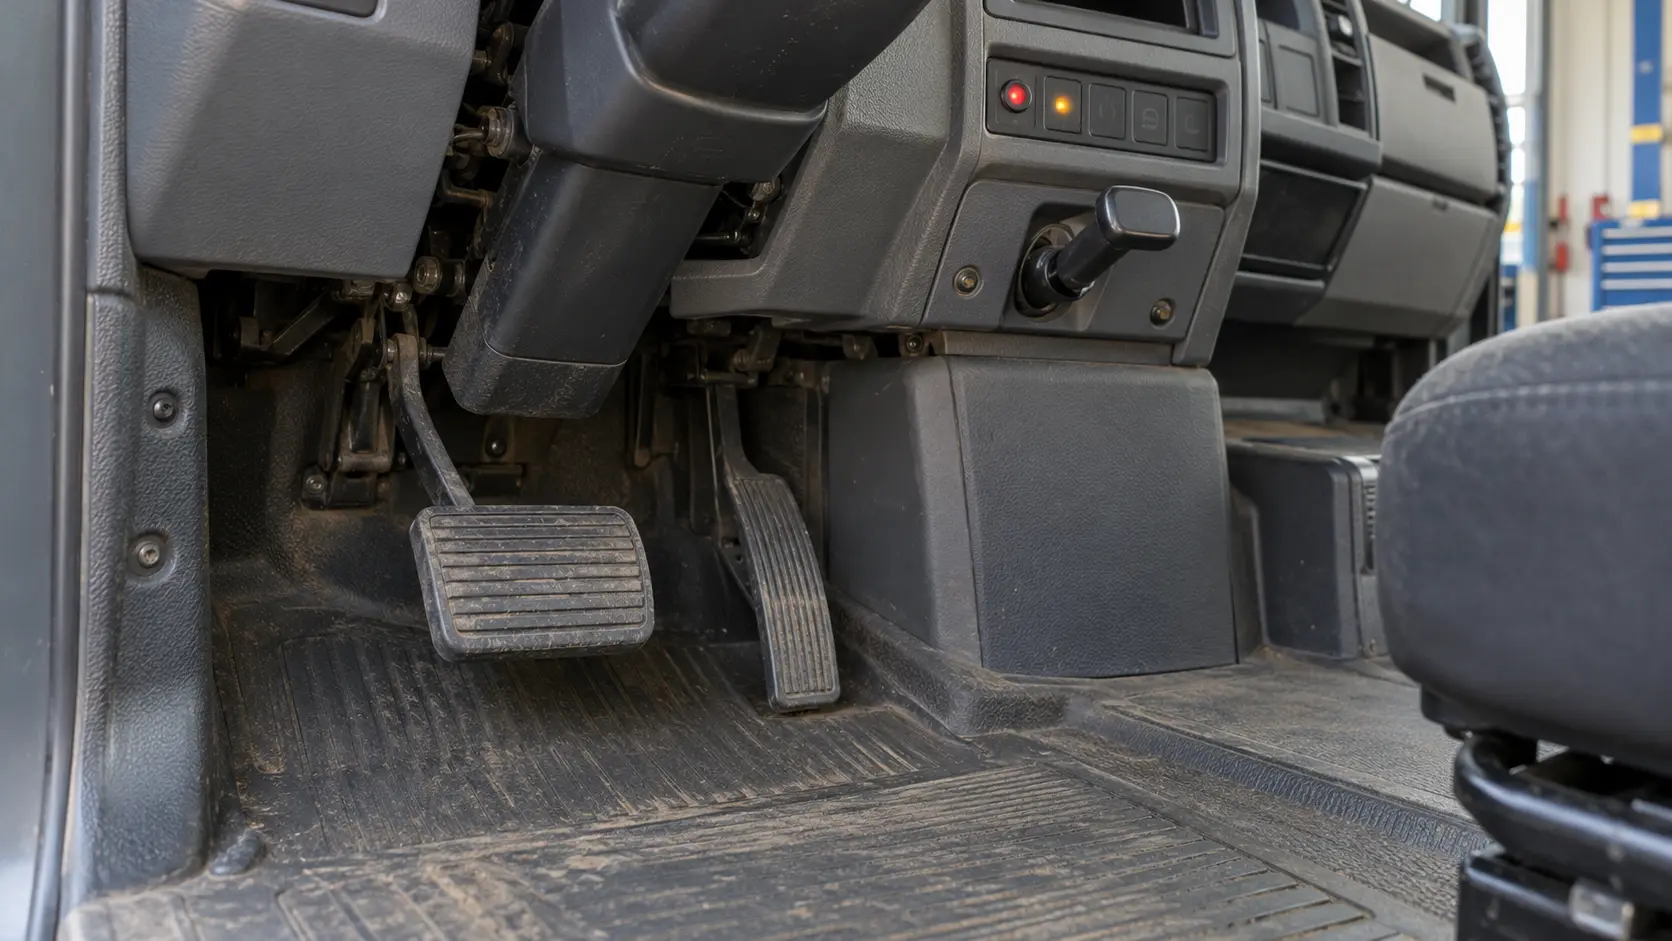
Hydraulic brakes are common in many Class B straight trucks and buses, but trainees often study them as if they were a shortened air-brake test. That is a mistake. Hydraulic systems create braking force with fluid pressure, and their pedal, warning, reserve and assist checks follow a different sequence from full-air systems.
Federal CDL rules require applicants to inspect brakes and demonstrate safe braking control in the test vehicle. The Class B ELDT curriculum also requires instruction on braking systems, including hydraulic, air and antilock systems, plus pre-trip and post-trip inspections. The goal is not to memorize a speech for one examiner. It is to recognize whether the vehicle can stop predictably before it enters traffic.
First, identify the brake system you actually have
Before practicing any test sequence, ask the instructor or vehicle manual whether the truck has full hydraulic, air-over-hydraulic or full-air brakes. Do not decide from vehicle size alone. Air-over-hydraulic uses air pressure to actuate a hydraulic system and is treated differently from full air for CDL restriction purposes.
| System | Driver-level clues | Training consequence |
|---|---|---|
| Full hydraulic | Brake-fluid reservoir, hydraulic lines and pedal/assist warnings; no air-pressure build-and-leak sequence | Practice the hydraulic pedal, warning, assist and service-brake checks |
| Air over hydraulic | Air portion plus hydraulic actuation; configuration varies | Use the exact vehicle procedure and understand the potential full-air restriction |
| Full air | Air reservoirs, pressure gauges, compressor/governor and spring-brake controls | Use the complete air-brake test sequence, not this hydraulic sequence |
If test-vehicle choice is still uncertain, review ProntoCDL's CDL restriction guide before reserving the skills test. 49 CFR 383.95 says a test in a vehicle without air brakes results in an air-brake restriction; a test in an air-over-hydraulic vehicle results in a restriction from vehicles with a full-air system.
Secure the vehicle before the stationary checks
Perform the in-cab checks on level ground in the position and gear specified by the vehicle, training provider and examiner. Set the parking brake, keep the area clear and do not move the truck until the stationary sequence is complete. State skills-test wording and scoring can vary, so use your state manual as the final test-day reference. FMCSA directs drivers to study the manual issued by their state.
Use the same three-part language throughout the inspection:
- Name the item: “This is the hydraulic brake pedal” or “This is the brake-system warning indicator.”
- State the condition or test: Explain what you are looking for and perform the action safely.
- State the result: Say what normal operation looks or feels like and what defect would stop the inspection.
That method matches the broader preparation strategy in ProntoCDL's three-part CDL skills-test guide.
Inspect visible hydraulic components
Start outside and under the hood only after the vehicle is secured and the engine-compartment procedure is safe. Identify the brake-fluid reservoir, master-cylinder area, booster or assist unit, and visible lines, hoses and fittings that the vehicle design makes accessible. Do not crawl beneath the truck or open a pressurized system during a routine driver inspection.
Look for:
- fluid at the correct level, using the vehicle's approved reading method;
- a secure reservoir cap and secure component mounting;
- fresh wetness, drops, spray marks or residue that may indicate leakage;
- cracked, swollen, abraded, kinked or damaged hose;
- line routing that prevents chafing, heat exposure and mechanical damage;
- loose, damaged or leaking fittings; and
- damaged wiring or connectors at electric reserve or warning components.
49 CFR 393.45 requires brake tubing and hose to be adequate, secured against chafing, kinking and mechanical damage, protected from excessive heat, and connected without leakage. A driver should report the observed location and condition rather than guessing which internal part failed.
Perform the hydraulic pedal-hold check
The current New York CDL Manual gives a clear hydraulic-brake check that many trainees use as a practical model:
- Pump the brake pedal three times.
- Apply firm pressure and hold the pedal for five seconds.
- Watch and feel for movement. The pedal should not move during the hold.
Use firm, controlled pressure—not stamping or repeatedly bouncing on the pedal. Keep the heel supported and notice the pedal's height, resistance and stability. A pedal that keeps sinking or changes position under steady pressure is not a passing result. The state manual says the problem should be fixed before driving.
A driver-level check does not prove which seal, line or component caused an abnormal result. Describe the evidence precisely: “After three pumps, the pedal continued to move downward during the five-second hold.” That observation is safer and more useful than an unsupported diagnosis.
Check warning, reserve and power-assist functions
The brake warning indicator should behave as the vehicle manufacturer specifies. In the New York skills-test sequence, the brake-system warning buzzer or light should be off after the hydraulic check. A lamp that stays on, a buzzer that continues or a new message on the driver display calls for the prescribed stop-and-report process.
If the vehicle has a hydraulic reserve or backup system, the same manual instructs the driver to turn the key off, depress the brake pedal and listen for the reserve electric motor. That sound confirms the equipped reserve system responds to the test input. Not every vehicle uses the same architecture, so never invent a reserve check for a truck that does not have one.
Power assist also varies. A hydraulic booster may use engine vacuum, an electric pump or hydraulic pressure from another system. Learn the manufacturer's test and the normal change in pedal effort. An unusually hard pedal, missing assist, continuous motor operation or warning indication deserves an exact report before the vehicle moves.
Read pedal feel without over-diagnosing
| Observation | Driver decision | Report language |
|---|---|---|
| Pedal moves during the steady hold | Do not drive; report the failed check | Include pump count, hold time and direction of movement |
| Pedal feels soft, spongy or unusually low | Stop the inspection and seek maintenance direction | Describe travel and resistance; do not guess at the internal cause |
| Pedal is unusually hard or assist is absent | Do not proceed to traffic | State engine/key condition, warning status and assist response |
| Pedal sticks or does not return normally | Keep the vehicle parked | Describe where movement stopped and whether anything obstructed it |
| Warning remains active | Follow the vehicle defect procedure | Record the exact lamp, buzzer or dashboard message |
Also confirm that the pedal area is clear. Loose objects, bunched floor covering or damaged trim must not interfere with full pedal travel or return. Never place tools, bottles or training materials where they can roll under a pedal.
Verify the service brakes at low speed
After the stationary checks pass and the area is safe, test braking response in the controlled area approved by the examiner or instructor. The current New York manual instructs the applicant to move forward at about 5 mph and apply the service brake. The vehicle should stop promptly without pulling to either side.
During that check, evaluate:
- whether brake application begins when expected;
- whether pedal travel and effort feel normal for the vehicle;
- whether the truck stops in a straight, controlled line;
- whether any grinding, scraping, pulsing or other new noise or vibration appears; and
- whether a warning activates during or after the stop.
A pull, delayed response, unusual pedal feel or excessive stopping distance is a failed safety check, not a reason to “try it faster.” Return to a secure stop and report the condition.
Keep ABS and parking-brake checks separate
Hydraulic service brakes, ABS and the parking brake are connected parts of the vehicle's stopping system, but one passing check does not prove the others work. Inspect the ABS warning lamp with the correct key-on sequence and use ProntoCDL's ABS warning-lamp guide to understand what the light can and cannot tell you.
Then perform the vehicle-specific parking-brake holding test. Review the parking-brake inspection guide for safe setup and fault decisions. Foundation-brake condition still matters as well; the drum and lining guide covers visible friction-component checks.
Know the stop-and-report threshold
49 CFR 392.7 prohibits driving a CMV until the driver is satisfied that the service brakes and listed safety equipment are in good working order. 49 CFR 393.40 separately requires adequate service, parking and emergency braking systems.
Keep the vehicle parked when the pedal will not hold, braking response is abnormal, warning or assist checks fail, fluid is leaking, a hose or line is damaged, or another condition creates doubt about reliable stopping. Report facts, preserve the failed condition for maintenance when practical and do not clear the vehicle on the strength of a second, more favorable attempt.
Practical takeaways
- Identify full hydraulic, air-over-hydraulic and full-air systems before choosing a test sequence.
- Use the state manual and the actual vehicle procedure; test wording is not universal.
- Secure the vehicle and clear the pedal area before stationary checks.
- Inspect accessible fluid, reservoir, hoses, lines, fittings, mounting and routing.
- For the current New York sequence, pump three times and hold firm pressure for five seconds.
- The pedal should not move during the hold.
- Check the warning indicator and, when equipped, the reserve and power-assist systems.
- At about 5 mph in a controlled area, the service brakes should stop the vehicle without pulling.
- Check ABS and parking-brake operation separately.
- Report the exact observation and keep the vehicle parked when a brake check fails.
CDL hydraulic-brake FAQ
Is a hydraulic-brake check the same as an air-brake check?
No. A hydraulic system uses fluid pressure and has its own pedal-hold, warning and assist checks. A full-air system has reservoirs, pressure gauges, low-air warnings, leakage limits and spring-brake checks. First identify the actual brake system, then use the correct vehicle and state testing procedure.
Why pump the hydraulic brake pedal three times and hold it for five seconds?
That sequence is used in the current New York CDL manual to establish pedal pressure and watch for movement during a steady hold. The pedal should not move. It is a driver inspection—not a diagnosis of a particular internal part—and another state may phrase or score the procedure differently.
What should I do if the hydraulic brake pedal moves while I hold it?
Treat the movement as a brake-system problem. Do not drive until the issue has been reported and the vehicle is determined safe through the applicable maintenance process. Federal rules prohibit driving until the driver is satisfied the service brakes are in good working order.
What is a hydraulic reserve or backup system?
Some vehicles have an electric reserve system that can provide brake assist if the primary source is unavailable. The current New York CDL manual says that, when so equipped, the driver checks it with the key off by depressing the brake pedal and listening for the reserve electric motor. Follow the actual vehicle manual because designs differ.
Does an ABS warning lamp mean the hydraulic service brakes have completely failed?
Not necessarily. ABS and normal foundation-brake operation are related but distinct. A warning lamp means the system needs the prescribed check and service; it is not permission to ignore pedal feel, stopping response or another brake warning. Use the vehicle manual and defect procedure.
Can the brake system in my skills-test vehicle affect my CDL restrictions?
Yes. Under 49 CFR 383.95, testing in a vehicle without air brakes requires an air-brake restriction, while testing in an air-over-hydraulic vehicle requires a restriction from operating vehicles with full-air brakes. Confirm the test vehicle and expected credential with your state licensing agency before test day.
Practice the complete inspection sequence
Build the procedure into a full test-day routine with ProntoCDL's CDL study guides and reinforce brake-system concepts in the free practice center.