
CDL Air-Brake Component Inspection: Hoses, Chambers and Slack Adjusters
Air-brake defects often leave a clue before they affect stopping: a hose polished by rubbing, a fitting surrounded by fresh grime, a chamber clamp that has shifted, a loose clevis pin, or a pushrod traveling farther than it should. A methodical visual check helps a driver find the clue while the truck is still parked.
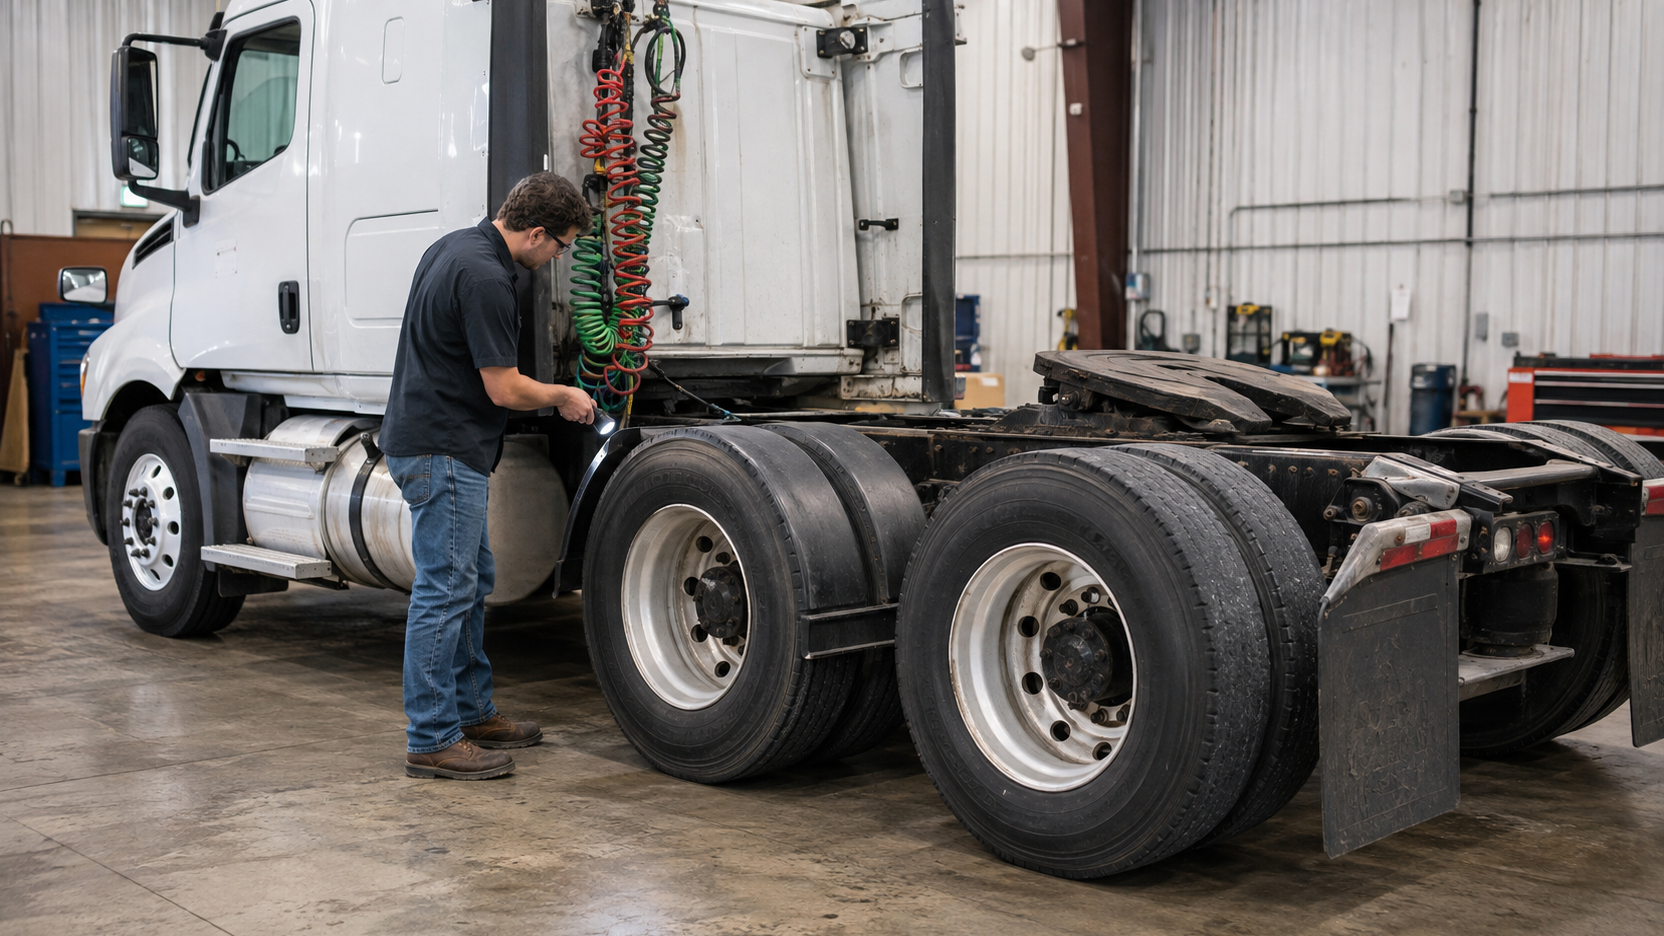
Federal rules make the driver’s responsibility clear. 49 CFR 392.7 says a commercial motor vehicle must not be driven until the driver is satisfied that the service brakes—including trailer brake connections—and parking brake are in good working order. The component rules in 49 CFR 393.45 and 49 CFR 393.47 address brake-hose installation, leak-free connections, brake chambers, slack adjusters, linings, drums, rotors and actuator travel.
Start with a safe inspection position
Park on firm, level ground in a designated inspection area. Secure the vehicle under the carrier’s procedure, control the keys, use wheel chocks when required, and keep clear of suspension, steering and brake components that can move. Never place any part of your body beneath an unsupported vehicle.
An air-brake inspection can include several different tasks: a visual walkaround, an in-cab pressure and warning-device check, a listening check for leaks, and—when required—an actuator-stroke measurement. Do not mix them into one improvised procedure. Each task has a defined vehicle condition, and pushrod measurement requires correct chamber identification and a trained method.
Know the visible component chain
At a typical S-cam drum-brake wheel end, the flexible hose carries air to the brake chamber. Air pressure moves the diaphragm and pushrod. The clevis connects the pushrod to the slack adjuster, which rotates the camshaft and applies the shoes against the drum. A spring-brake chamber combines a service section with a powerful mechanically applied parking/emergency section.
That description is a map for the inspection. Follow the system in order: hose, fitting, chamber, mounting hardware, pushrod, clevis, pins, slack adjuster and visible foundation-brake parts. If the vehicle uses air-disc brakes or another design, use its manufacturer and carrier inspection procedure rather than inventing an S-cam checklist.
1. Trace each hose from its support to the chamber
Do not look only at the fitting. Follow the full visible length and change your viewing angle. Federal section 393.45 requires brake tubing and hoses to be long and flexible enough for normal component movement, secured against chafing, kinking and other mechanical damage, and routed away from exhaust heat. Connections must be free of leaks, constrictions and other performance-reducing conditions.
Look and listen for:
- A shiny flat spot where the hose rubs a bracket, frame edge, tire or suspension part
- A tight bend, kink, twist, crushed area or stretched section
- A missing clip, loose support or hose hanging below its normal route
- Cracked covering, exposed reinforcement, blistering or heat damage
- Fresh wet grime around a fitting or an audible air leak
- A hose positioned where axle or suspension movement can pull it tight
Road dust is normal; a polished rub mark or concentrated fresh debris is not. If movement is needed to confirm clearance, the inspection must be performed under an approved procedure by someone who can control the vehicle safely.
2. Inspect the brake chamber without disturbing it
Check the chamber shell for impact damage, heavy corrosion, a separated seam, an insecure clamp or evidence that the unit has shifted. Verify that its mounting bracket and visible fasteners are secure and not cracked. Look for an airline fitting under strain and listen for leakage at the chamber and connection.
Never loosen a spring-brake chamber clamp or attempt to open the chamber. The spring section contains a powerful compressed spring and is a qualified-service item. A caging bolt, where used, is service equipment—not a normal pre-trip adjustment tool.
Section 393.47 also requires the service and spring-brake chambers on both ends of an axle to be the same size. A driver is not expected to rebuild the system during a walkaround, but obviously mismatched or recently replaced hardware should be reported and verified by maintenance.
3. Check the pushrod, clevis and retaining hardware
The visible pushrod should be straight, properly aligned and free from binding. At the clevis, verify that the pin is present and retained by the correct visible locking hardware. Look for a missing cotter or retaining clip, an elongated clevis hole, a bent pin, severe rust at a moving joint, or shiny side wear showing that parts are not aligned.
A damaged dust boot, where fitted, can allow contamination into the mechanism. A polished contact mark on the pushrod or chamber opening can signal rubbing. Report the exact axle and side instead of simply writing “brake problem.”
4. Inspect the slack adjuster and camshaft connection
Check that the slack adjuster is securely installed on the camshaft, correctly connected to the clevis and free from obvious cracks, bends or missing hardware. The effective slack-adjuster length must match at both ends of an axle under section 393.47. A visible mismatch after component replacement requires qualified evaluation.
Most newer air-braked commercial vehicles use automatic brake adjusters. 49 CFR 393.53 requires qualifying air-braked CMVs manufactured on or after October 20, 1994 to meet automatic-adjustment requirements. If an automatic adjuster does not maintain correct stroke, repeated manual adjustment can conceal the symptom without correcting its cause. Hold the vehicle for a qualified brake inspection.
5. Treat pushrod travel as a measured condition
“Too much travel” cannot be decided by one universal number. Section 393.47 lists different readjustment limits for clamp-type, DD-3, bolt-type and rotochamber actuators. Clamp-type limits also vary by chamber size and standard- versus long-stroke design. For actuator types not listed, the rule refers to the manufacturer’s rated-stroke marking or readjustment limit.
A legitimate measurement therefore starts by identifying the actuator correctly. It also requires the prescribed brake application, a safe method for marking and measuring the pushrod, and control of the vehicle. CDL applicants should practice the exact procedure required by their instructor and licensing jurisdiction. Working drivers should follow carrier and manufacturer procedures and leave diagnosis and adjustment to qualified personnel.
6. Scan the lining, drum or rotor area
Use the inspection opening or safe viewing angle provided by the vehicle. Look for visibly thin, broken, cracked, contaminated or missing lining material; a damaged drum or rotor; loose parts; and fresh oil or grease reaching the friction area. Do not insert fingers into an opening or place yourself near a component that can move.
Federal lining limits vary by axle and brake design. Section 393.47 distinguishes steering-axle and non-steering-axle brakes, drum and disc systems, and air versus hydraulic equipment. A precise thickness decision requires the correct measurement location and specification—not a glance from several feet away.
Compare left and right sides
The opposite end of the same axle is a useful reference. Compare chamber size, slack-adjuster length, hose routing, pushrod angle and visible hardware. The two sides need not be mirror images in every detail, but a major difference can reveal a missing part, wrong replacement component or shifted mounting point.
Repeat the same order at each accessible wheel end. Consistency is what prevents a driver from checking one clean component carefully and then skipping the dirtier, harder-to-see side.
Know the no-go warning signs
Secure the vehicle and request qualified evaluation when you find an audible brake-system leak, a hose with severe chafing or exposed reinforcement, missing clevis hardware, a loose or damaged chamber, a cracked slack adjuster, obviously excessive or unequal actuator travel, contaminated friction material, or broken foundation-brake parts.
Do not use an in-cab air-pressure result to excuse a visible wheel-end defect. A system can build pressure while a local component is damaged, and a problem can worsen when the axle moves, the brakes heat or the truck is loaded.
Report the defect so maintenance can find it
A useful defect report names the unit, axle, side, component and observable condition:
- “Tractor rear drive axle, passenger side: brake hose rubbing the chamber bracket; polished flat spot visible.”
- “Tractor forward drive axle, driver side: audible leak at service-hose connection to chamber.”
- “Trailer front axle, passenger side: pushrod clevis retaining clip missing; unit held.”
Avoid diagnosing beyond what you can confirm. “Audible leak at chamber fitting” is more useful than guessing which internal part failed.
A four-part memory routine: Line, Can, Link, Lever
- Line: hose is supported, flexible, undamaged, cool and leak-free.
- Can: chamber is secure, intact, correctly mounted and not leaking.
- Link: pushrod, clevis, pins and retainers are present, straight and aligned.
- Lever: slack adjuster and camshaft connection are secure and show no damage or abnormal travel.
Practical takeaways
- Follow every visible brake hose, not just the connection at the chamber.
- Chafing, kinking, heat exposure, loose routing and leaks conflict with federal hose requirements.
- Never open or loosen a spring-brake chamber.
- Account for the clevis pin and its retaining hardware at every visible pushrod.
- Compare chamber size and slack-adjuster geometry across the same axle.
- Pushrod limits vary by actuator type and size; identify before measuring.
- Do not use routine manual adjustment to hide an automatic-adjuster problem.
- Report the axle, side, component and visible condition precisely.
Build the rest of your inspection with the wheel and rim guide, commercial tire guide and post-trip and DVIR guide. Review air-brake terminology, study complete systems in the ProntoCDL study guides, and reinforce your inspection sequence in the practice center.
Frequently asked questions
What should a CDL driver look for on an air-brake hose?
Check that the hose is securely routed, long and flexible enough for normal movement, free from chafing, kinks and mechanical damage, kept away from exhaust heat, and leak-free at its connections. Report any exposed reinforcement, crushing, rubbing, heat damage or audible leak before operation.
Can a driver manually adjust an automatic slack adjuster?
Manual adjustment should not be treated as a routine driver fix. An automatic adjuster that is not maintaining correct brake stroke may have an underlying component, installation or maintenance problem. Secure the vehicle and have a qualified brake inspector diagnose it under the carrier and manufacturer procedure.
How much pushrod travel is allowed?
There is no single limit for every brake chamber. The federal tables in 49 CFR 393.47 vary by actuator type, chamber size, and whether a clamp-type chamber has standard or long stroke. The chamber must be identified correctly before its measured stroke is compared with the applicable limit.
Is an audible air leak at a brake chamber acceptable?
An audible leak is a defect warning, not normal operation. Do not assume that acceptable overall system pressure makes a local chamber or connection leak safe. Identify the wheel position, secure the vehicle, and follow the carrier’s repair procedure.
Do CDL applicants need to crawl under a truck to inspect the brakes?
Never crawl beneath an unsupported vehicle or enter a pinch point. Perform the most thorough visual inspection safely possible from accessible positions and follow the official skills-test manual and examiner instructions for your licensing jurisdiction.