
CDL Fifth-Wheel Coupling Inspection: A Step-by-Step Safety Guide
A tractor can pass every engine-compartment and brake check and still be unsafe if the trailer is not coupled correctly. The best defense is a repeatable routine: inspect the equipment, couple at the correct height, look directly at the lock, perform a controlled tug test and finish with a complete connection check.
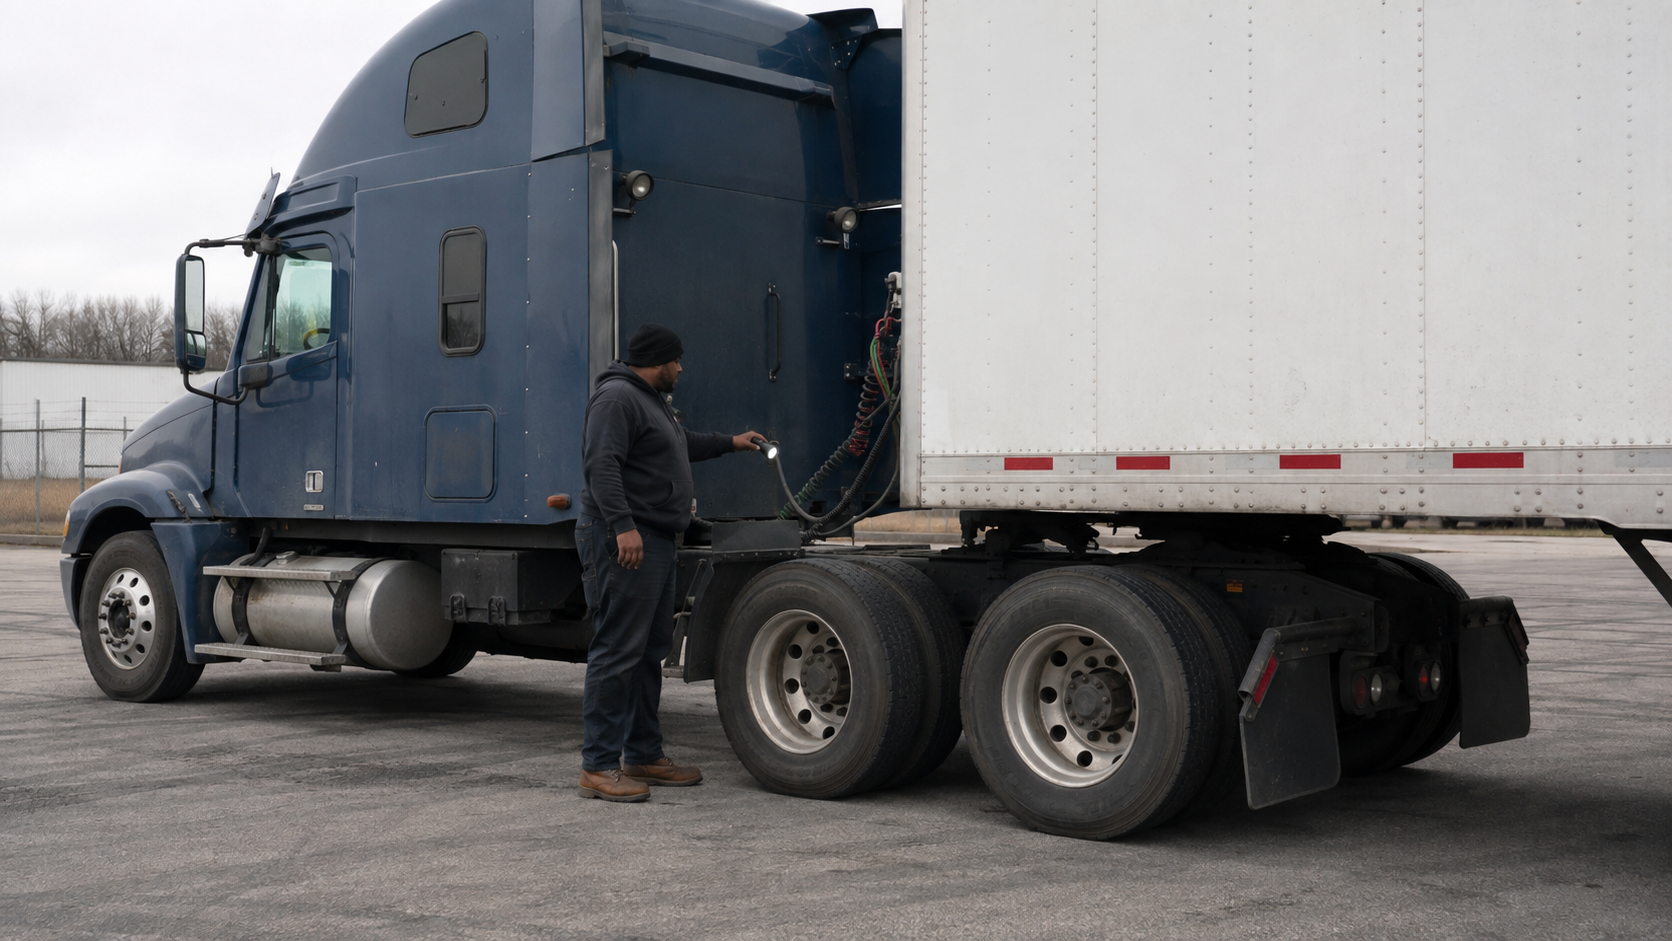
Federal rules make the driver responsible for being satisfied that coupling devices are in good working order before operating a commercial motor vehicle. The core requirements appear in 49 CFR 392.7 and 49 CFR 393.70. The regulation requires a secure fifth-wheel mounting and a locking mechanism that prevents separation unless a positive manual release is activated.
Know the parts before you inspect them
A useful coupling inspection is easier when you can identify the components and explain what each one does:
- Fifth-wheel plate: the greased, horseshoe-shaped plate mounted over the tractor frame.
- Trailer apron: the flat underside of the trailer that rests on the fifth wheel.
- Kingpin: the vertical steel pin attached to the trailer that enters the fifth-wheel throat.
- Locking jaws or lockbar: the mechanism that closes around the kingpin shank.
- Release arm and safety latch: the manual controls used to unlock the mechanism.
- Mounting platform and brackets: the hardware securing the fifth wheel to the tractor frame.
- Slide rails and locking pins: parts that secure an adjustable fifth wheel in its selected position.
Different fifth-wheel designs do not all look identical. Learn the specific lock indicator, release-handle position and inspection points for the equipment you operate. The manufacturer and carrier procedure controls whenever it is more specific than a general study guide.
1. Secure the tractor and inspect the area
Use a level, firm surface whenever possible. Set the parking brakes, place the transmission in neutral and follow the carrier’s wheel-chock and trailer-securement procedure before working between the tractor and trailer. Keep your body out from beneath an unsupported trailer and never place yourself where unexpected movement could pin you.
Look for people, equipment or debris in the coupling path. Check that the trailer is stable, its landing gear is supporting it correctly and the area around the kingpin is visible. Inspect the tractor frame and fifth-wheel mounting for cracked metal, missing or loose fasteners, damaged brackets, illegal welds or signs that the assembly has shifted.
2. Check the fifth-wheel plate and lock before backing
The plate should be securely mounted and adequately lubricated according to the equipment procedure. Look for cracks, deformation, missing parts or heavy contamination that can interfere with movement. Confirm that the release arm and safety latch are not bent or damaged.
Before coupling, the locking mechanism must be in the correct ready position for that fifth-wheel model. Do not assume that an extended or retracted handle means the same thing on every unit. Verify the manufacturer’s indicator and never force a damaged handle.
3. Confirm the trailer height
The trailer should be low enough that the tractor raises it slightly as the fifth wheel moves under the apron. That contact helps keep the kingpin aligned with the throat. If the trailer is too high, the fifth wheel can pass under the apron without lifting it, allowing the kingpin to ride above or in front of the locking mechanism—a dangerous condition often called a high hook.
If the trailer is too low, stop and adjust the landing gear. Do not use speed or force to push under a trailer. Before backing, line up the center of the fifth wheel with the kingpin and use the smallest practical corrections.
4. Couple slowly and listen for the lock
Back under the trailer at idle or the lowest controlled speed permitted by the equipment procedure. Stop when the coupling mechanism locks. A sound or change in resistance can be a useful clue, but it is not proof by itself. Set the tractor parking brake, place the transmission in neutral and secure the vehicle before leaving the cab.
5. Perform a controlled tug test
With the trailer brakes applied according to the vehicle procedure, gently pull forward against the locked trailer. The combination should hold. Use only enough force to confirm engagement; the tug test is not a full-power pull.
A successful tug test does not replace a visual inspection. A miscoupled kingpin can sometimes create resistance without being captured correctly, and a damaged mechanism may appear to hold briefly.
6. Look directly at the locking mechanism
Use a flashlight from a safe standing or crouching position beside the equipment. Do not crawl beneath an unsupported trailer. Confirm all of the following:
- The trailer apron is resting flat on the fifth-wheel plate with no visible gap.
- The kingpin is inside the fifth-wheel throat.
- The locking jaws or lockbar are fully closed around the shank of the kingpin—not below the kingpin head.
- The release arm is fully seated in the locked position for that model.
- The safety latch is engaged when the design uses one.
- No broken, missing or deformed part is visible.
If you cannot see the lock clearly, improve the lighting or your viewing angle. Do not substitute guessing, a mirror-only glance or another tug test for a clear confirmation.
7. Inspect a sliding fifth wheel
On an adjustable assembly, inspect the slide rails, stops and mounting hardware. Both locking pins must be fully engaged through the rail openings. Look for a pin that is only partly inserted, a damaged air-operated release mechanism or accumulated debris that prevents engagement.
Fifth-wheel position affects axle weight distribution and the clearance between tractor and trailer. Do not slide it casually. Use the carrier’s procedure, verify legal axle weights after adjustment and check that the trailer will clear the cab, frame and landing gear during turns.
8. Connect and inspect the air and electrical lines
Attach the service and emergency air-line glad hands to the correct trailer connections. Seals should be present, clean and seated; couplers should be locked together without cracks or obvious leakage. Route hoses with enough slack for turns but not so much that they can rub, snag or rest on the tractor frame.
Seat the electrical plug fully and secure its locking tab. Inspect the cord and socket for cuts, exposed conductors, bent contacts or looseness. After supplying air to the trailer, listen for leaks and verify that the trailer lights and brakes operate as required by the vehicle inspection procedure.
9. Raise and secure the landing gear
After the coupling has been verified, raise the landing gear completely. Secure the crank handle in its holder and confirm that the feet and supports are clear of the ground. Check the trailer doors and cargo area as required, then complete the rest of the pre-trip inspection before moving.
Common coupling mistakes to avoid
- Trusting the sound: a click is not the same as seeing the lock.
- Relying only on the tug test: resistance can be misleading.
- Coupling to a trailer that is too high: this can produce a high hook.
- Checking the handle but not the jaws: the handle can look close to normal while the internal lock is incomplete or damaged.
- Skipping the gap check: the apron should sit flat on the plate.
- Leaving sliding pins partly engaged: both sides must lock fully.
- Crossing air lines: identify the service and emergency connections correctly.
- Failing to test trailer systems: a mechanical coupling does not prove that air, brakes and lights are ready.
A short memory routine for CDL practice
Use the phrase Mount, Height, Lock, Look, Lines, Legs:
- Mount: brackets, platform, bolts and slide hardware are secure.
- Height: the trailer is low enough for correct fifth-wheel contact.
- Lock: couple slowly and perform a controlled tug test.
- Look: no gap; kingpin captured; jaws, handle and latch fully locked.
- Lines: air and electrical connections are correct, secure and tested.
- Legs: landing gear is fully raised and the handle is secured.
Practical takeaways
- Federal rules require coupling devices to be in good working order before operation.
- A secure coupling needs both a controlled tug test and a direct visual inspection.
- No visible gap should remain between the trailer apron and fifth-wheel plate.
- Confirm the locking mechanism is closed around the kingpin shank.
- Inspect sliding pins, air lines, electrical connections, trailer brakes and lights.
- Never put your body beneath an unsupported trailer or into a pinch point.
- When anything looks uncertain, stop and repeat the procedure or obtain qualified maintenance help.
Build the rest of your walkaround with the ProntoCDL CDL study guides, review terms such as kingpin, fifth wheel and glad hand in the CDL glossary, and reinforce the sequence in the ProntoCDL practice center.
Frequently asked questions
Is a tug test enough to prove a trailer is coupled?
No. A tug test is only one part of the check. The driver should also make a direct visual inspection that confirms the fifth-wheel locking mechanism is fully engaged around the kingpin and that the trailer apron is sitting correctly on the fifth wheel.
Should there be a gap between the trailer apron and the fifth wheel?
After a correct coupling, the trailer apron should rest flat on the fifth-wheel plate without a visible gap. A gap can indicate that the trailer was too high during coupling or that the kingpin did not enter the locking mechanism correctly.
What should I inspect on a sliding fifth wheel?
Check the slide rails and mounting hardware, then confirm the locking pins are fully engaged on both sides. Follow the vehicle manufacturer and carrier procedure before changing fifth-wheel position because the setting affects weight distribution and cab-to-trailer clearance.
What does federal law require for a fifth-wheel locking mechanism?
Under 49 CFR 393.70, every fifth-wheel assembly must have a locking mechanism that prevents separation unless a positive manual release is activated. A readily separable fifth wheel must apply its locking devices automatically during coupling.
What should I do if the release handle does not look fully seated?
Do not move the combination onto the road. Secure the vehicle and repeat the coupling and inspection process according to the manufacturer and carrier procedure. If the mechanism still does not seat correctly, report the defect for qualified maintenance.