
CDL Bus Emergency Exit Inspection: Doors, Windows, Hatches & Alarms
An emergency exit is useful only when passengers can reach it, understand it and open it without delay. A disciplined bus inspection checks the entire escape path—not just a handle.
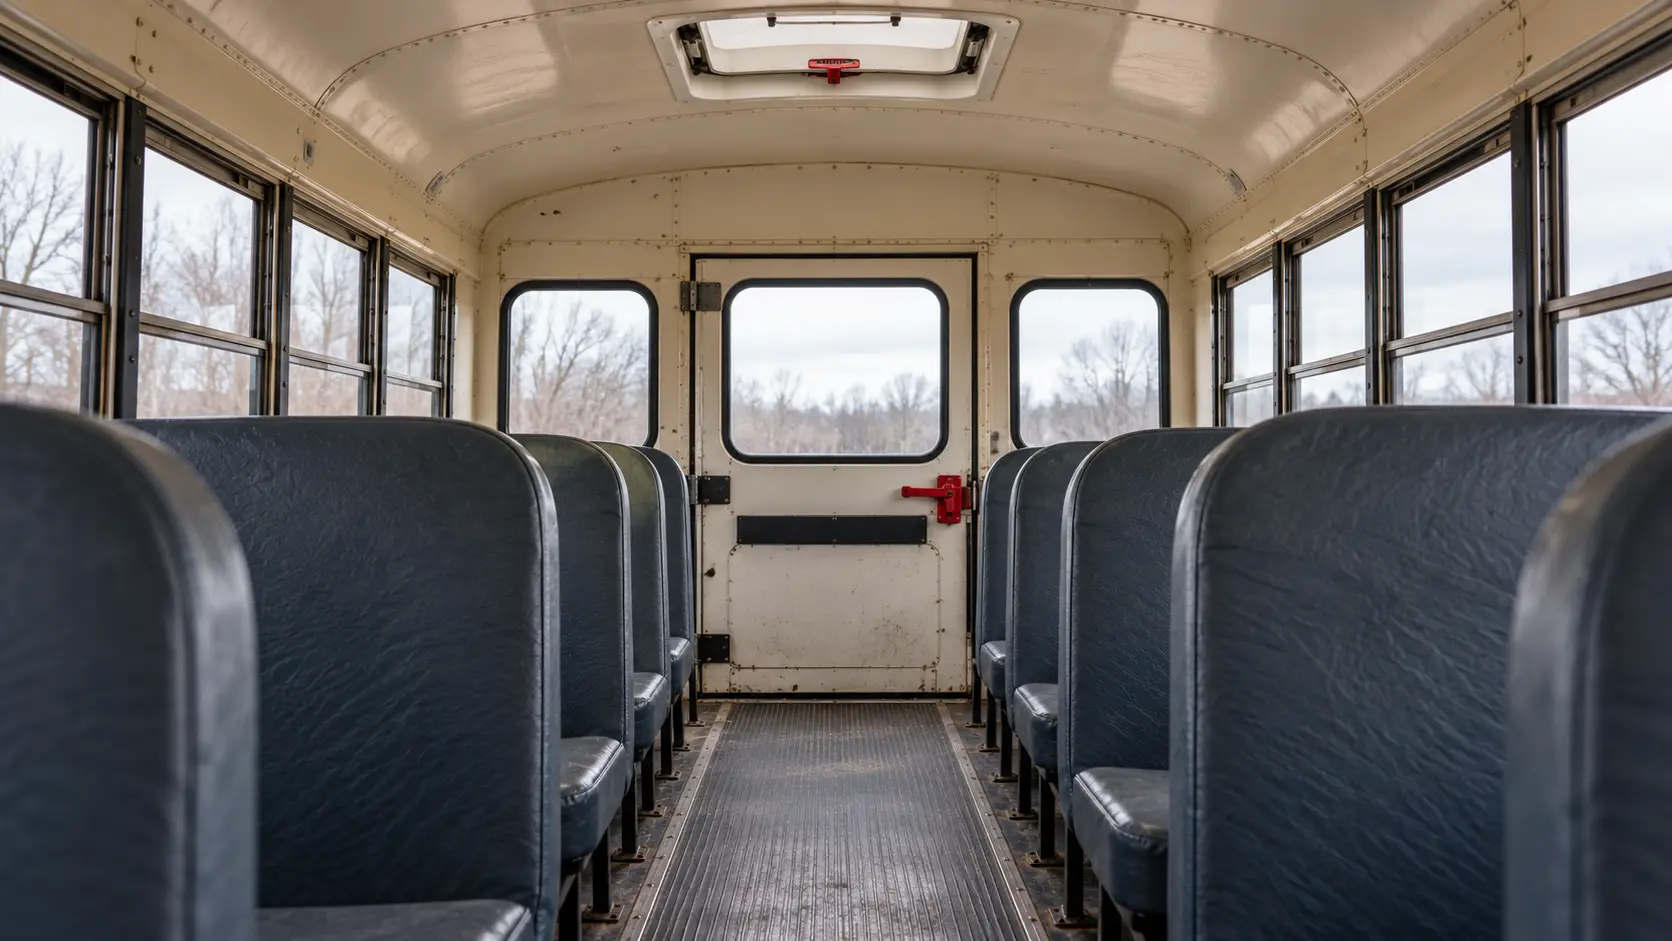
The federal framework begins with 49 CFR 393.62, which connects bus emergency-exit requirements to the version of Federal Motor Vehicle Safety Standard No. 217 that applied on the vehicle's manufacture date. FMVSS 217 addresses the number and type of exits, release operation, opening dimensions, markings and other design details. It does not mean every bus has the same layout.
The driver's job is practical: know which exits are installed, keep the approach clear, verify serviceable operation under the approved procedure and report any defect precisely. Federal school-bus ELDT curriculum specifically includes emergency exits in pre- and post-trip inspection training and requires trainees to demonstrate their role in an evacuation.
This guide complements ProntoCDL's Passenger and School Bus endorsement guide, post-trip and DVIR guide and emergency-equipment checklist.
Start with the bus secured and the correct procedure
Park on level ground where an opened door, window or roof hatch will not strike a wall, tree, parked vehicle or overhead obstruction. Set the parking brake, place the transmission in the proper parked or neutral condition and follow the manufacturer and operator procedure for ignition position. Keep students and other passengers off the bus during a functional test unless the organization's written procedure directs otherwise.
Do not begin by pulling every red handle at random. First identify the exit types and their locations. A school bus may have a rear emergency door, a left-side emergency door, emergency windows, roof exits or a combination determined by its design and seating capacity. A motorcoach or other passenger bus may use a different configuration. The CDL inspection is performed on the vehicle in front of you.
Look for evidence that an exit has been tied, taped, blocked, padlocked or modified. FMVSS 217 defines a locked exit as one that requires a key, combination or other special means to activate the release and open it. The standard also says the engine starting system must not operate if an emergency exit is locked. Never defeat that protection to make the bus start.
1. Map every exit before testing any of them
Walk the passenger compartment from front to rear and point out each emergency door, window and roof hatch. Compare the actual equipment with the vehicle inspection form or fleet diagram. A red handle alone does not tell you whether the opening is a required exit, and a roof vent may serve as an emergency exit only when designed and marked for that purpose.
Check the designation and operating instructions near each release. FMVSS 217 requires school-bus emergency doors, windows and roof exits to carry a contrasting emergency designation and requires concise opening instructions close to the interior release mechanism. Section 393.62 also requires emergency doors and exits on covered buses to be marked with operating instructions. Missing, painted-over or unreadable information is a defect to report.
Do not use a generic memory phrase in place of the actual instructions. One exit may require lifting a handle and pushing outward; another may use a two-step roof-hatch motion. In an evacuation, the installed mechanism—not a memorized description from a different bus—controls what passengers must do.
2. Protect the approach path and opening space
Stand in the aisle and look toward each exit. The floor and aisle must be clear of backpacks, cleaning tools, spare equipment, loose seat-belt webbing, mobility-device parts and other objects that could slow movement. Check that seat frames, cushions, modesty panels and temporary equipment have not shifted into the path.
At a rear door, inspect the floor area from the last seat row to the threshold. At a side emergency door, check the dedicated opening zone and any foldaway seat or barrier that forms part of the original design. At an emergency window, verify that curtains, signs or stored items do not cover the handle or interfere with outward travel. For roof exits, look for overhead racks, cameras or added equipment that could conflict with the release or hatch.
An exit can pass a handle test and still fail the real safety purpose if a passenger cannot reach it. Treat access and operating clearance as part of the exit assembly.
3. Inspect emergency doors from inside and outside
Begin with the door closed. Inspect the panel, frame, hinges, hinge mounts, weather seals, glazing, latch and release handle. Look for cracks, bends, loose hardware, corrosion, damaged glass and evidence that the door rubs or has shifted in the opening. The release should be in its normal secured position without a bungee cord, wire, wedge or improvised fastener.
Under the approved parked-bus procedure, operate the interior release in the direction shown by the instructions. The mechanism should move without a tool or remote control, the door should open smoothly and the opening should remain unobstructed. FMVSS 217 requires a school-bus emergency door to permit manual release by one person from inside and outside; the exact force and access regions are manufacturer-compliance details, not numbers a driver is expected to measure during a routine pre-trip.
Check the positive door-opening device. The standard requires a school-bus emergency door to have a device that bears the door's weight and keeps it from closing past the perpendicular position after it is opened as designed. A door that swings back toward the opening can strike or trap an evacuating passenger.
Then close the door carefully. It should align with the frame, latch securely and return the release to its normal position. From outside, inspect the exterior handle, hinges, perimeter and reflective outline where applicable. Do not remain behind an unsupported open door in wind.
4. Test emergency windows without damaging them
Identify each window designated as an emergency exit. Check glazing and frame condition, secure mounting, hinge or pivot hardware, release handles and retaining devices. Look for cracks, sharp edges, missing hardware, corrosion, binding and objects on the exterior that could block movement.
Operate the release only as the bus and fleet procedure permits. FMVSS 217 requires school-bus emergency exit windows to be manually releasable from inside by one person and to work without remote controls, tools or vehicle power. A smooth release does not excuse damaged glazing or a frame that will not extend far enough to provide an opening.
Control the sash while opening and closing it. Do not allow a heavy window to fall, slam or twist. Verify that the hold-open feature or support device performs as designed, then close and latch the window securely. If a release resets but the frame remains loose, record both conditions rather than reporting only that the handle moved.
5. Inspect roof emergency exits from the floor
Look up from a stable position in the aisle. Inspect the hatch panel, surrounding frame, release mechanism, hinges, seals and any prop or support device. Check for cracks, water stains, loose fasteners, deformation, daylight around a closed seal and interior accessories that interfere with access.
Do not stand on a passenger seat, armrest or improvised object. If the release cannot be reached safely under the approved inspection method, report the access problem or use the fleet's designated step equipment. Never climb onto the bus roof for a routine driver check.
When the procedure calls for a functional test, follow the marked sequence and control the hatch through its travel. FMVSS 217 requires a school-bus roof exit to allow manual release by one person from both inside and outside, using no more than two release mechanisms. Confirm that it opens as designed, stays controlled and closes and latches securely.
6. Verify warning devices and interlocks
With the ignition in the prescribed test position, move one release at a time. For a school-bus emergency door covered by the standard, moving the release away from the closed position must cause a continuous warning audible at the driver's seat and near the door. An open emergency-window release similarly must produce a continuous warning at the driver position and near that exit.
Listen from the driver area and, when the procedure requires it, near the exit. A faint, intermittent or delayed signal deserves a specific defect report. Reset the exit and confirm the warning stops only after the release returns to the secured condition.
Do not confuse the emergency-exit warning with a generic dashboard chime, service-door signal or low-air alarm. Identify the source by testing one exit at a time. Never silence a warning by disconnecting a switch, stuffing the buzzer or wedging the handle.
7. Finish with secure closure and a driver-seat confirmation
After every functional check, repeat a complete interior walk-through. Confirm each door, window and hatch is fully closed and latched; every release is in its normal position; the aisle and thresholds are clear; and no tool, step or inspection item remains aboard unsecured. Check for new water entry or seal damage caused by the test.
Return to the driver's seat and scan the instrument panel for any exit-related warning. If the engine-start interlock or alarm behaves abnormally, stop the inspection and report the affected exit and conditions. Do not assume that a warning lamp or buzzer defect is harmless because the door appears closed.
The current New York CDL skills-test manual gives a compact driver-level standard: all emergency exits should be undamaged, operate smoothly and close securely from inside, and any emergency-exit warning devices should work. That is a useful inspection summary, while the actual bus instructions and applicable rules control the exact test.
Know the difference between design rules and driver checks
| Question | Driver-level check | Qualified evaluation |
|---|---|---|
| Is the correct number of exits installed? | Identify every installed exit and compare with fleet records | Determine compliance for the bus's manufacture date, GVWR, seating and design |
| Does the release work? | Use the marked procedure; confirm smooth manual operation | Measure regulatory force, reach and opening dimensions |
| Is the path usable? | Remove obstructions and confirm clear approach and travel | Evaluate altered seats, wheelchair anchorages or structural modifications |
| Does the warning work? | Test one exit at a time with the ignition in the approved position | Diagnose switches, wiring, interlocks or failed audible devices |
| Does the exit close securely? | Check alignment, latching and warning reset | Repair bent frames, hinges, latches, seals or hold-open devices |
A CDL inspection is not a certification test of FMVSS dimensions or release force. Drivers find observable damage, verify normal function under the approved procedure and keep the bus out of service when a required exit cannot be relied upon.
Report defects so maintenance can act
A useful report names the exit and the failure: “left-side emergency window, third row from rear—release handle lifts but sash binds after approximately two inches,” or “rear emergency door warning sounds at the door but is not audible at the driver seat with ignition on.” Avoid vague notes such as “exit bad.”
Include whether the problem affects opening, hold-open, closing, latching, marking, access or warning. If the bus has several similar windows, use a consistent side-and-row location. Tag the bus or follow dispatch procedure so another driver does not unknowingly place it in service.
Do not create a temporary fix that changes the release sequence. Tape over a switch, an added lock, a rope on a handle or cargo placed against an exit can turn a repair delay into an evacuation failure.
Practice the evacuation plan before it is needed
Inspection proves the hardware is ready; training proves people can use it. The school-bus ELDT curriculum requires instruction on emergency-exit and evacuation planning, including students on field or activity trips who may not know the bus procedure. It also requires behind-the-wheel trainees to demonstrate their role in a safe evacuation.
Know the operator's priorities for securing the bus, contacting emergency services, selecting the safest usable exit, assigning helpers and moving passengers to a protected location. Fire, smoke, traffic, water, a railroad track, rollover position and passenger mobility can change which exit is safest. An evacuation is not automatically directed through the nearest opening.
Keep inspection and drills connected. If a route carries students or passengers needing assistance, verify that the plan accounts for them without blocking required exits or improperly locating mobility equipment. For endorsement preparation, review the P-versus-S requirements and practice with the same vehicle group you intend to drive.
Practical takeaways
- Identify every emergency door, window and roof hatch installed on the actual bus.
- Read the operating instructions at the exit; do not substitute a generic release sequence.
- Keep aisles, thresholds, handles and exterior opening space clear.
- Inspect panels, glazing, frames, hinges, releases, seals and hold-open devices before operating them.
- Test one exit at a time under the approved secured-vehicle procedure.
- Confirm warning devices are audible where required and reset only when the exit is secured.
- Never bypass an interlock, silence an alarm or add a lock that defeats emergency release.
- Close and latch every exit, then complete a final walk-through and driver-seat warning check.
- Report the exact exit, location and failure mode, and keep an unreliable bus out of service.
Bus emergency exit inspection FAQ
Must a school bus driver test every emergency exit during the pre-trip inspection?
Federal ELDT requires school-bus trainees to learn and demonstrate inspection of emergency exits, and CDL skills-test guidance calls for checking that all emergency exits are undamaged, operate smoothly, close securely and have working warning devices. The exact daily procedure can also depend on the bus design, manufacturer instructions, carrier policy and State or local rules. Follow the approved procedure for the actual bus.
Can luggage, mobility equipment or student belongings be placed near an emergency exit?
Do not allow any item to obstruct the aisle, release mechanism or opening path of a required exit. An exit that works mechanically but cannot be reached or opened through its designed travel is not ready for an emergency. Use designated storage and secure every item under the operator policy.
Should the emergency-door alarm sound during an inspection?
On a school bus covered by the applicable FMVSS 217 requirements, moving an emergency-door release away from its closed position with the ignition on must produce a continuous warning audible at the driver position and near the door. Emergency exit windows have a similar warning requirement when their release mechanism is open. Test only under the approved parked-vehicle procedure.
May a driver operate with an emergency exit that is locked from the outside?
Do not operate if an emergency exit cannot be released as designed. FMVSS 217 states that a bus engine starting system must not operate when an emergency exit is locked, with locked defined as needing a key, combination or other special means to activate the release and open the exit. Report the condition rather than bypassing an interlock.
Is every bus required to have the same number and type of emergency exits?
No. Required exit configurations depend on whether the vehicle is a school bus, its GVWR, seating capacity, design and date of manufacture. FMVSS 217 provides different combinations of rear or side doors, emergency windows and roof exits. Inspect every exit installed on the assigned bus and do not infer compliance from another model.
What should a driver do if an exit opens but will not close or latch securely?
Keep the bus out of service and report the exact exit and defect. A loose latch, bent door, damaged seal or failed hold-open device can prevent secure normal operation or reliable emergency use. Do not tie, tape or otherwise improvise a repair that defeats the release, warning or opening function.
Know every exit before the route begins.
A clear path, working release and audible warning can turn an emergency opening into a usable evacuation route.
Start free CDL practice