
CDL Windshield, Wiper and Mirror Inspection: A Clear-View Guide
A visibility problem rarely begins as a completely blacked-out windshield. It starts with a blade that leaves a narrow smear, a washer nozzle that misses the driver’s side, a heater outlet that cannot clear condensation, or a mirror bracket that shifts at highway speed. Inspect these parts as one visibility system—not as unrelated checklist words.
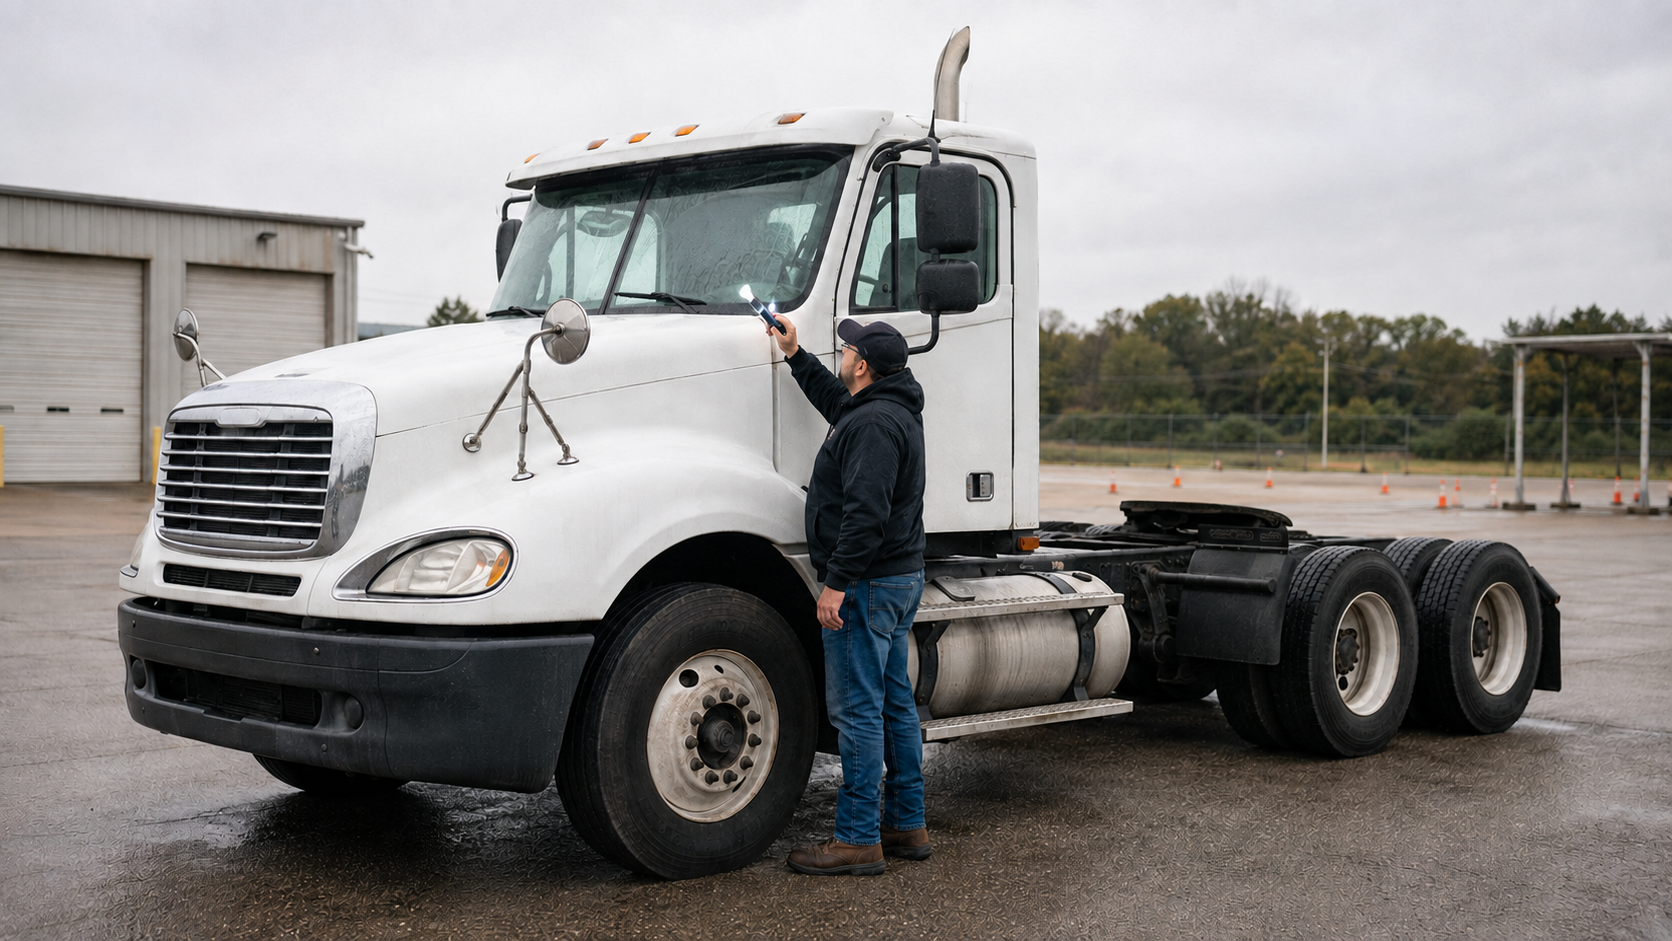
The driver’s operating duty is direct. 49 CFR 392.7 says a commercial motor vehicle must not be driven until the driver is satisfied that its windshield wipers and rear-vision mirrors, among other listed safety items, are in good working order.
The equipment rules add the details: 49 CFR 393.60 covers glazing condition, tint and windshield obstructions; 49 CFR 393.78 covers wiping and washing systems; 49 CFR 393.79 addresses defrosting and defogging; and 49 CFR 393.80 sets the rear-vision mirror standard.
Build one routine around the driver’s actual sight lines
Secure the truck on firm, level ground. Sit in the normal driving position before judging the glass or mirror view. Seat height, steering-wheel position and mirror adjustment determine what the driver can actually see. Then inspect in this order:
- Windshield glass, seal and mounted devices
- Wiper arms, blades, travel and park position
- Washer fluid, spray pattern and cleaning result
- Defroster/defogger controls, airflow and outlets
- Both main mirrors, brackets and auxiliary mirrors
- Side glass and the final seated view
Use daylight when possible, then repeat a quick glare check with the cab lights and exterior lighting appropriate for the conditions. A haze that disappears in shade can become a serious screen under low sun or oncoming headlights.
1. Inspect the windshield from outside and inside
From outside, scan the full glass in overlapping sections. Look for cracks, chips, star breaks, pitting, discoloration, delamination, deep scratches, wiper arcs and a loose or damaged seal. Trace each crack to see whether it branches or intersects another crack. Note whether a chip is close to another damaged area.
Then sit in the driver’s seat and repeat the scan through the real field of view. Section 393.60 defines the regulated area using the top of the steering wheel and windshield borders. It permits limited exceptions, including a crack not intersected by another crack and an isolated damaged area coverable by a 3/4-inch disc when at least three inches from another similar damaged area. That language is why “any crack under X inches is legal” is a poor rule of thumb.
Location, intersection, width, vision reduction and the inspection standard being applied all matter. State law or a carrier may be stricter. If uncertain, report the exact position and shape and let qualified maintenance make the compliance decision.
2. Check tint, stickers and mounted technology
Do not treat the windshield as free storage space. Section 393.60 limits tint on the windshield and the windows immediately beside the driver to glazing that transmits at least 70 percent of normal-incidence light in the specified portions. Added film, dirt, haze and layered stickers can reduce the usable view even when each item appears small.
Required federal or state stickers and CVSA inspection decals may be placed only within the rule’s allowed area at the bottom or sides, outside the wiper-swept area and outside the driver’s sight lines. Antennas and similar devices have a different upper-windshield placement rule.
Vehicle safety technology—such as a forward-facing camera—has specific upper and lower mounting zones in section 393.60, but it must still remain outside sight lines to the road, highway signs and signals. Check that the housing and cable are secure. A compliant mounting location is not safe if the device swings, falls or creates a loose cable across the glass.
3. Inspect wiper arms and blades before activating them
With the system off and the vehicle secured, inspect each blade for torn, hardened, split, swollen or missing rubber. The wiping edge should remain seated in its frame. Check the arm for bending, corrosion, missing hardware and weak-looking attachment at the pivot. Do not pull an arm farther than its designed service position.
Look at the windshield where the blade parks. Sand or grit trapped under the rubber can scratch the glass. Ice can bond the blade to the windshield and overload the motor or linkage. Clear the glass using the carrier-approved method before switching the wipers on.
For modern buses, trucks and truck tractors, section 393.78 ties the required wiping and washing systems to the applicable FMVSS No. 104 standard in effect when the vehicle was manufactured. The practical result is simple: blades, arms, motor, linkage, controls and washer system must work together as designed.
4. Run every speed and watch the full sweep
Wet the glass before testing to avoid dragging dry debris. Run intermittent mode if equipped, then each continuous speed. Both blades should move smoothly, remain synchronized, reverse without a hard knock and return to their proper park position.
Look through the glass—not only at the moving arms. A blade can move while leaving a broad unwiped band, chatter marks, streaks or lift at one end. Check whether the driver’s side clears the area needed to see the roadway, signs, signals and mirrors. Listen for a slow motor, clicking linkage or contact between a blade and molding.
Stop the test if an arm is loose, a blade begins to separate or the mechanism binds. Continuing can turn a replaceable blade defect into scratched glass or damaged linkage.
5. Test the washer as a cleaning system
Confirm the reservoir is secure, capped and filled with fluid appropriate for expected temperatures under the manufacturer’s procedure. Inspect visible hoses and fittings for cracks, leaks, pinches, loose routing or disconnection. Never open a hot or pressurized component.
Activate the washer and observe both spray and result. Fluid should reach the useful swept area before the blades make repeated dry passes. A pump sound does not prove the system works: a blocked nozzle, split hose or empty reservoir can make noise without cleaning the glass.
Report the exact behavior: “driver-side nozzle sprays below the blade and leaves the upper viewing area dry” is much more useful than “washer weak.”
6. Verify defrosting and defogging before weather demands it
Section 393.79 requires the applicable defrosting and defogging system. Turn on the fan, select the windshield mode and verify that air reaches the windshield outlets. Cycle fan speeds and temperature controls. Check for weak airflow, a mode door that never changes direction, unusual noise, a dead fan speed or blocked dash outlets.
When conditions allow, confirm the system actually clears a light film of condensation. Do not rely on wiping the inside glass with a hand or driving with a side window open as a substitute for a functioning system. A clean interior windshield also matters: oily film from cleaners, smoke or plastics makes moisture and glare more difficult to clear.
7. Inspect mirror glass, housings and supports
A typical truck or truck tractor must have two outside rear-vision mirrors, one on each side, firmly attached and positioned to show the highway to the rear along both sides under section 393.80. Inspect the main mirrors first, then wide-angle or hood mirrors fitted to the vehicle.
Look for cracked or missing glass, dark spots, separation at the edges, loose glass, a damaged housing, missing fasteners, bent supports and wiring damage at heated or powered mirrors. Apply light hand pressure only as the carrier permits; the assembly should not shift from its adjusted position.
Clean mirrors with an approved method. Dirt, dried salt and water spots can hide a vehicle in low light. Heated glass should be checked under the vehicle procedure—do not assume a dashboard indicator proves the element works.
8. Adjust mirrors from the driving position
Set the seat first. Adjust the main flat mirrors to show a narrow reference to the vehicle and the lane area behind; then adjust auxiliary convex mirrors to expand coverage near the tractor, trailer path and adjacent lanes. The exact aim depends on the vehicle and carrier method.
Convex glass makes objects appear smaller and farther away. Use it to detect and track hazards, then use the main mirror and direct view to judge position. No mirror adjustment eliminates every blind area. A proper lane-change routine still needs repeated scans, signaling, time and a final check before moving.
Stop and report these visibility defects
- Windshield damage, discoloration or delamination that affects the regulated viewing area
- Intersecting cracks, clustered chips or a crack that is spreading from an edge
- Loose glazing, damaged seal or water entering the cab
- A device, sticker, cable or film obstructing the driver’s view
- A missing, torn, separating or ineffective wiper blade
- Wipers that bind, strike trim, lose synchronization or fail to park
- A washer that does not deliver fluid to the useful swept area
- A defroster/defogger that cannot deliver usable airflow to the windshield
- Missing, cracked, loose or unadjustable mirror glass or support hardware
Document the side, location, function and observed result. “Passenger main mirror bracket shifts inward with light approved hand pressure” tells maintenance what to reproduce and repair.
A five-word memory check: Glass, Sweep, Spray, Air, View
- Glass: clear, secure, compliant and unobstructed.
- Sweep: intact blades, smooth travel and proper park.
- Spray: adequate fluid reaches the useful swept area.
- Air: the defroster/defogger delivers controlled airflow.
- View: clean, secure mirrors are adjusted from the driver’s seat.
Practical takeaways
- Inspect visibility from both outside the truck and the normal driving position.
- Describe windshield damage by location, intersections and spacing—not one remembered crack length.
- Test wiper motion and the cleaned result on a wetted windshield.
- Verify washer spray reaches the useful viewing area rather than merely listening for the pump.
- Test defroster airflow before frost or condensation creates an urgent problem.
- Check mirror glass, supports, adjustment and final seated view.
- Keep mounted devices, cables, decals and personal items out of sight lines.
Continue your cab and walkaround routine with the truck lighting inspection guide, steering and suspension guide, and post-trip and DVIR guide. Review the complete process in the pre-trip inspection glossary entry, then reinforce the sequence through the ProntoCDL study guides and free practice center.
Frequently asked questions
Can a CMV operate with one windshield wiper not working?
A driver must be satisfied the windshield wiper system is in good working order before driving under 49 CFR 392.7. A missing, damaged or inoperative wiper that makes the system ineffective is also a defect under the federal minimum periodic-inspection standards. Hold the vehicle and follow the carrier’s repair procedure rather than assuming the remaining blade is enough.
What size windshield crack is allowed on a commercial truck?
There is no reliable one-number answer. Section 393.60 defines a regulated windshield area and exceptions involving nonintersecting cracks and isolated damaged areas, while the federal periodic-inspection standards and state rules add context. Record the crack’s location, width, branches and nearby damage, then use the current rule and carrier procedure instead of a remembered length myth.
Can a dash camera be mounted on a truck windshield?
Vehicle safety technology may be mounted only within the placement zones allowed by 49 CFR 393.60 and outside the driver’s sight lines to the road, signs and signals. The device and cable must also be secure. Follow the carrier-approved installation; do not relocate equipment casually or place a phone mount wherever it fits.
Are convex mirrors required on every Class 8 tractor?
Section 393.80 generally requires two outside rear-vision mirrors, one at each side, meeting the applicable manufacturing standard. The exact compliant mirror system depends on the vehicle’s manufacture date and configuration. Auxiliary convex mirrors improve coverage but do not automatically replace a required main mirror.
Does the defroster need to work in warm weather?
Yes. A compliant defrosting and defogging system is required, and condensation can block the windshield in any season. Test airflow and mode before departure; do not wait for frost to discover that the fan, controls or outlets cannot clear the driver’s view.