
CDL Steering and Suspension Inspection: A Practical Walkaround Guide
Steering tells the truck where to go; suspension keeps its tires and frame controlled while it gets there. A strong inspection connects the two systems, follows the load path from the steering wheel to the road, and treats a lean, leak or polished joint as evidence to investigate—not a detail to memorize and recite.
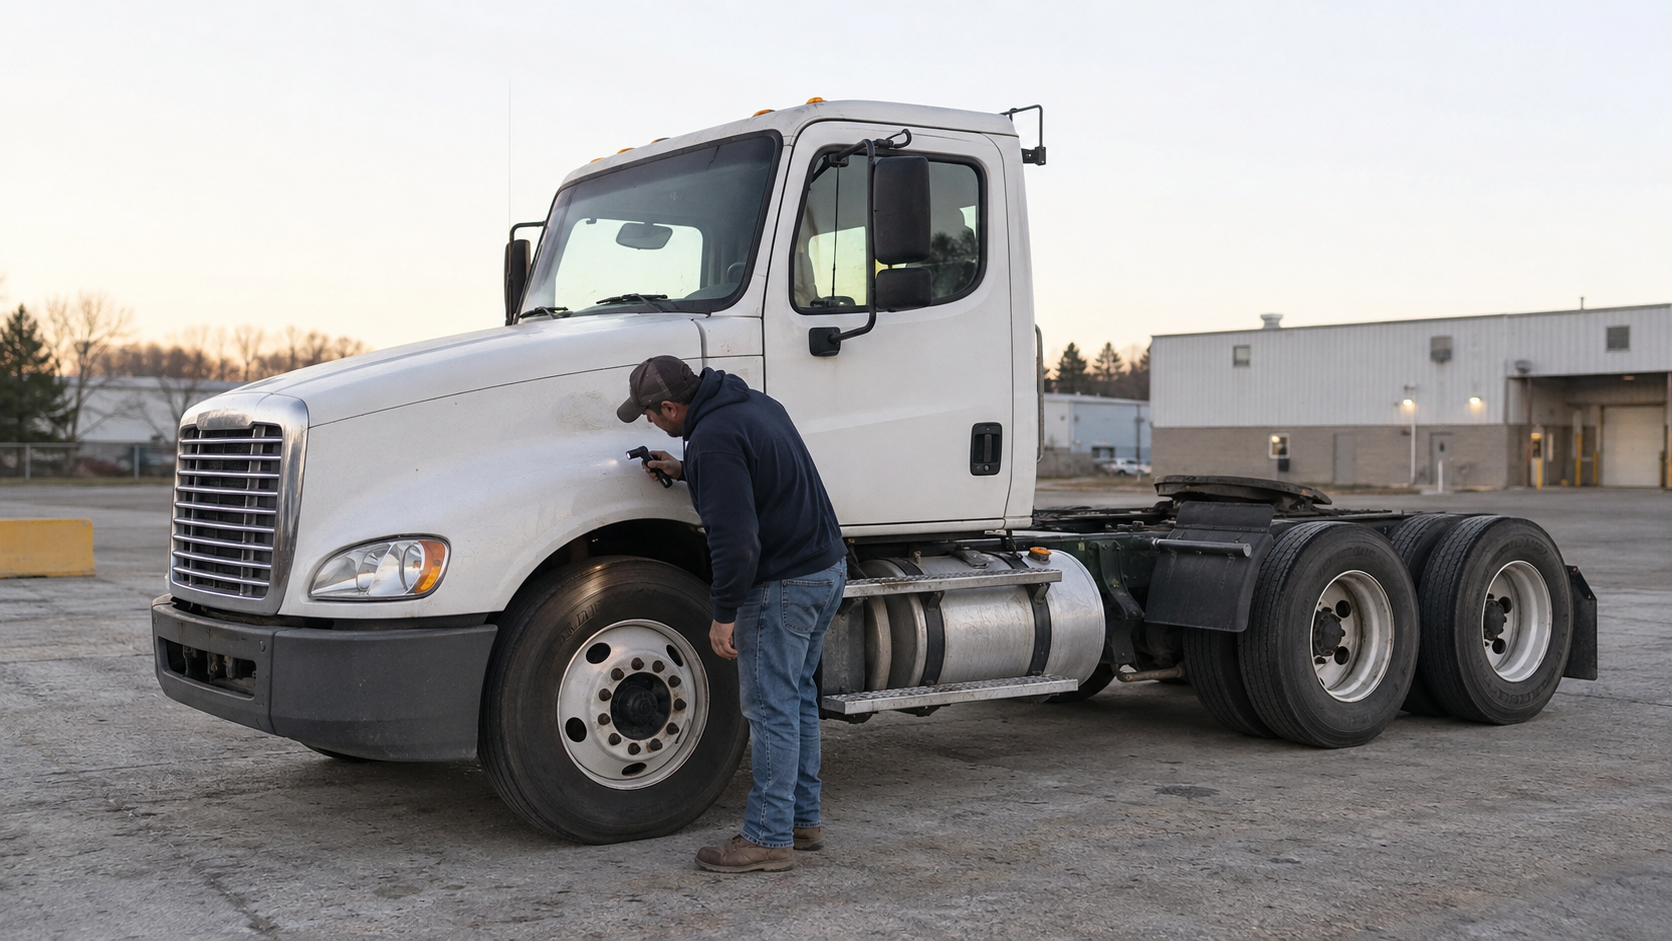
The operating rule comes first. 49 CFR 392.7 says a commercial motor vehicle must not be driven until the driver is satisfied that its steering mechanism—and the other listed safety equipment—is in good working order.
The component standards are more specific. 49 CFR 393.209 covers the steering wheel, steering-wheel lash, column, gear, joints, pitman arm and power-steering system. 49 CFR 393.207 covers axle-positioning parts, springs and air suspension. This guide turns those standards into an orderly visual and functional check without asking a driver to enter a pinch point or perform a mechanic’s repair.
Start with stance, safety and comparison
Park on firm, level ground away from moving traffic. Secure the vehicle using the carrier’s procedure. Stand far enough back to compare the truck’s left and right sides. A cab or frame that sits low at one corner can point to a deflated air spring, damaged spring, shifted component or load problem.
Then use three comparisons throughout the inspection:
- Side to side: height, spring position, air-bag shape and component angle should be reasonably consistent for the vehicle.
- Clean to dirty: a fresh wet trail, scrubbed paint, shiny metal or new rust dust can show movement or contact.
- Loaded to unloaded: a joint may reveal looseness only while the approved steering check places a light load on the linkage.
Do not put fingers on a joint while another person moves the steering wheel. Use an agreed signal, maintain visual contact and stay clear of the tire, linkage and suspension travel.
1. Inspect the steering wheel and column inside the cab
Check that the steering wheel is secure, with no spoke cracked through or missing. Check the column and tilt/telescope lock for secure mounting. With the vehicle prepared exactly as the manufacturer and carrier require, confirm that the wheel turns freely through its intended range and does not bind, catch or produce an abnormal knock.
Steering-wheel lash—often called free play—is the movement at the rim before the steered tires begin to respond. Section 393.209 uses different limits for manual and power systems:
| Steering-wheel diameter | Manual-system maximum | Power-system maximum |
|---|---|---|
| 16 inches or less | 2 inches | 4 1/4 inches |
| 18 inches | 2 1/4 inches | 4 3/4 inches |
| 19 inches | 2 3/8 inches | 5 inches |
| 20 inches | 2 1/2 inches | 5 1/4 inches |
| 21 inches | 2 5/8 inches | 5 1/2 inches |
| 22 inches | 2 3/4 inches | 5 3/4 inches |
For a wheel diameter not listed in the table, the federal maximum is 14 degrees of angular rotation for a manual system and 30 degrees for a power system. Use an approved measurement method. A rough impression of “about two fingers” is not a measurement and ignores wheel diameter.
2. Check the power-steering supply system
Inspect only components that are safely visible. Verify the reservoir is secure, the cap is present and the fluid is at the correct level under the manufacturer’s procedure. Look around the pump, reservoir, hoses and fittings for active leakage, wetness, chafing, bulges, cracks, loose routing or contact with heat and moving parts.
If the pump is belt driven, check the belt for fraying, cracking, contamination and obvious looseness under the vehicle’s inspection procedure. Section 393.209 requires the power-steering components to operate, prohibits loose or broken parts and leaks, and requires sufficient fluid. Do not open a hot or pressurized reservoir or reach near a moving belt.
3. Follow the mechanical path: gear, pitman arm and linkage
Find the steering gear and its frame mounting. The case and brackets should have no cracks, and mounting bolts should be present and secure. Look for elongated holes, shifted paint marks, rust trails or polished areas that could indicate movement. The pitman arm must be secure on the gear output shaft.
Continue through the drag link, tie rod and their ball-and-socket joints. Check for bent or damaged members, missing or loose fasteners, damaged boots, contact marks and unauthorized welds. Section 393.209 prohibits worn or faulty universal and ball-and-socket joints and prohibits repairing those joints by welding.
A helper can lightly move the steering wheel only under the carrier’s approved procedure while the observer remains in a safe standing position. Watch for one piece moving before its connected piece, vertical movement at a stud, a shifting gear box or a knock that identifies a loose connection. Never hold a joint by hand during the check.
4. Inspect the steer-axle suspension as a complete assembly
At the steer axle, trace each spring from front hanger to rear hanger or shackle. Inspect leaves for cracks, breaks, missing sections or a shift out of their normal stack. Check hangers, shackles, pins, bushings, U-bolts and mounting hardware for damage, movement, looseness or missing pieces.
Inspect shock absorbers for secure upper and lower mounts, a damaged body or rod, and active leakage. A light film or road grime is not the same as a fresh oil trail; describe what you see rather than declaring the shock good or bad from a distance.
Also inspect visible axle-positioning parts. Section 393.207 says none may be cracked, broken, loose or missing, and all axles must be properly aligned. Uneven tire wear can support an alignment concern, but it does not identify the failed component by itself. Pair the clue with the CDL tire inspection guide and wheel and rim inspection guide.
5. Walk both sides of the drive-axle suspension
On a typical tandem-drive air suspension, compare the air springs at each corner for shape, inflation and height. Look for abrasion, exposed reinforcement, cuts, a displaced bead, contact with the frame, leaking fittings or a bag that is folded or deflated. Check the height-control valve, linkage and visible air lines for secure mounting and damage, but never adjust them unless qualified and authorized.
Inspect torque rods, trailing arms, equalizers, spring hangers and attachment points appropriate to the truck’s suspension design. Look for missing fasteners, cracked brackets, shifted bushings, rust trails and metal-to-metal contact. A suspension with leaf, coil or torsion elements must satisfy the specific condition requirements in section 393.207; identify the system before naming its parts.
The federal air-suspension standard also addresses vehicle level, system pressure control and an air-leakage limit of 3 psi in five minutes at normal operating pressure. That is a controlled system test, not permission to improvise a brake-air test or crawl under the truck. Follow the vehicle and carrier procedure and send unclear results to qualified maintenance.
6. Read the frame and mounts around the suspension
The frame carries the loads the suspension transfers. 49 CFR 393.201 prohibits a cracked, loose, sagging or broken frame or chassis and addresses body/cab mounting hardware, altered flanges, drilling and weld repairs.
From safe viewing positions, inspect rails, crossmembers and mounting brackets near the steering gear and suspension. Look for cracks radiating from holes, fresh distortion, missing fasteners, fretting or shiny movement marks, and welds that do not match the manufacturer-approved configuration. Do not scrape coatings, hammer parts or attempt to decide whether a structural repair is approved; document the location for maintenance.
Stop and report these high-value clues
- Steering that binds, catches, knocks or has measured lash over the applicable limit
- A loose wheel or column, cracked/missing steering-wheel spoke, or shifting steering gear
- A loose pitman arm, worn joint, missing fastener or welded steering joint
- Active power-steering leakage, insufficient fluid, damaged hose or failing drive belt
- A cracked, broken, missing or shifted spring component
- A deflated or damaged air spring, leaning vehicle or audible suspension leak
- A cracked/loose axle-positioning part or evidence the axle is out of alignment
- A cracked, loose, sagging or broken frame, or movement at a structural mount
Report the unit, side, axle, component and condition: “tractor, driver-side steer axle, rear spring-hanger bracket—fresh rust trail and visible movement during approved steering check.” That gives maintenance far more value than “suspension bad.”
A seven-stop memory route
- Wheel: secure rim, intact spokes, measured lash.
- Column: secure mount and locks, no binding.
- Power: fluid, pump, belt, hoses and leaks.
- Gear: case, bracket, bolts and pitman arm.
- Linkage: drag link, tie rod, joints and fasteners.
- Suspension: springs/air bags, shocks, rods and mounts.
- Structure: level stance, axle alignment clues and frame condition.
Practical takeaways
- Inspect steering in the order force travels: wheel, column, gear, linkage, axle and tires.
- Measure steering lash against the correct wheel diameter and steering-system type.
- Compare suspension height and component condition from side to side.
- Use wet trails, rust dust, polished metal and shifted paint as clues—not final diagnoses.
- Never touch steering joints while a helper moves the wheel or enter an unsecured underbody area.
- Identify the actual suspension design before naming parts or applying a rule.
- Report exact unit, side, axle, component and observed condition.
Continue the same inspection discipline with the air-brake component guide, post-trip and DVIR guide, and truck lighting inspection guide. Review the complete sequence in the pre-trip inspection glossary entry, then use the ProntoCDL study guides and free practice center to reinforce the vocabulary.
Frequently asked questions
Can a driver operate a CMV with a steering-system defect?
49 CFR 392.7 says a commercial motor vehicle must not be driven until the driver is satisfied that the steering mechanism is in good working order. Hold the vehicle and follow the carrier’s defect-reporting and repair process when the steering wheel, column, gear, linkage or power-assist system has a safety defect.
How much steering-wheel free play is allowed?
The federal limit depends on steering-wheel diameter and whether the system is manual or power assisted. For diameters listed in 49 CFR 393.209, the table provides an inch limit; for unlisted diameters, the rule uses 14 degrees for manual steering and 30 degrees for power steering. Measure under the manufacturer- and carrier-approved procedure rather than guessing by feel.
Is any cracked leaf spring acceptable?
No. Section 393.207 says no leaf spring may be cracked, broken, missing or shifted out of position. A driver who sees a crack, displaced leaf or related loose hardware should report the exact location and keep the vehicle out of service until the carrier determines the proper repair.
Does one low air bag always mean the bag itself is leaking?
Not necessarily. A low corner can involve an air spring, line, fitting, height-control valve, linkage, mounting problem or another suspension fault. Record the vehicle corner and visible or audible clues; do not diagnose by replacing parts or adjusting the valve unless qualified and authorized.
Should a driver crawl under the truck to inspect steering or suspension?
No. Perform the most thorough inspection possible from safe standing or approved access positions. Never place yourself under an unsecured vehicle, between moving components or in a pinch point. Components that cannot be inspected safely should be checked by qualified maintenance personnel using proper equipment.