
CDL Air Brake Test Guide: Leak Rate, Warning and Pop-Out
A reliable air-brake check is a controlled sequence, not a race through memorized numbers. Secure the vehicle, establish the correct starting condition, watch both pressure circuits and connect every result to a clear stop-or-go decision.
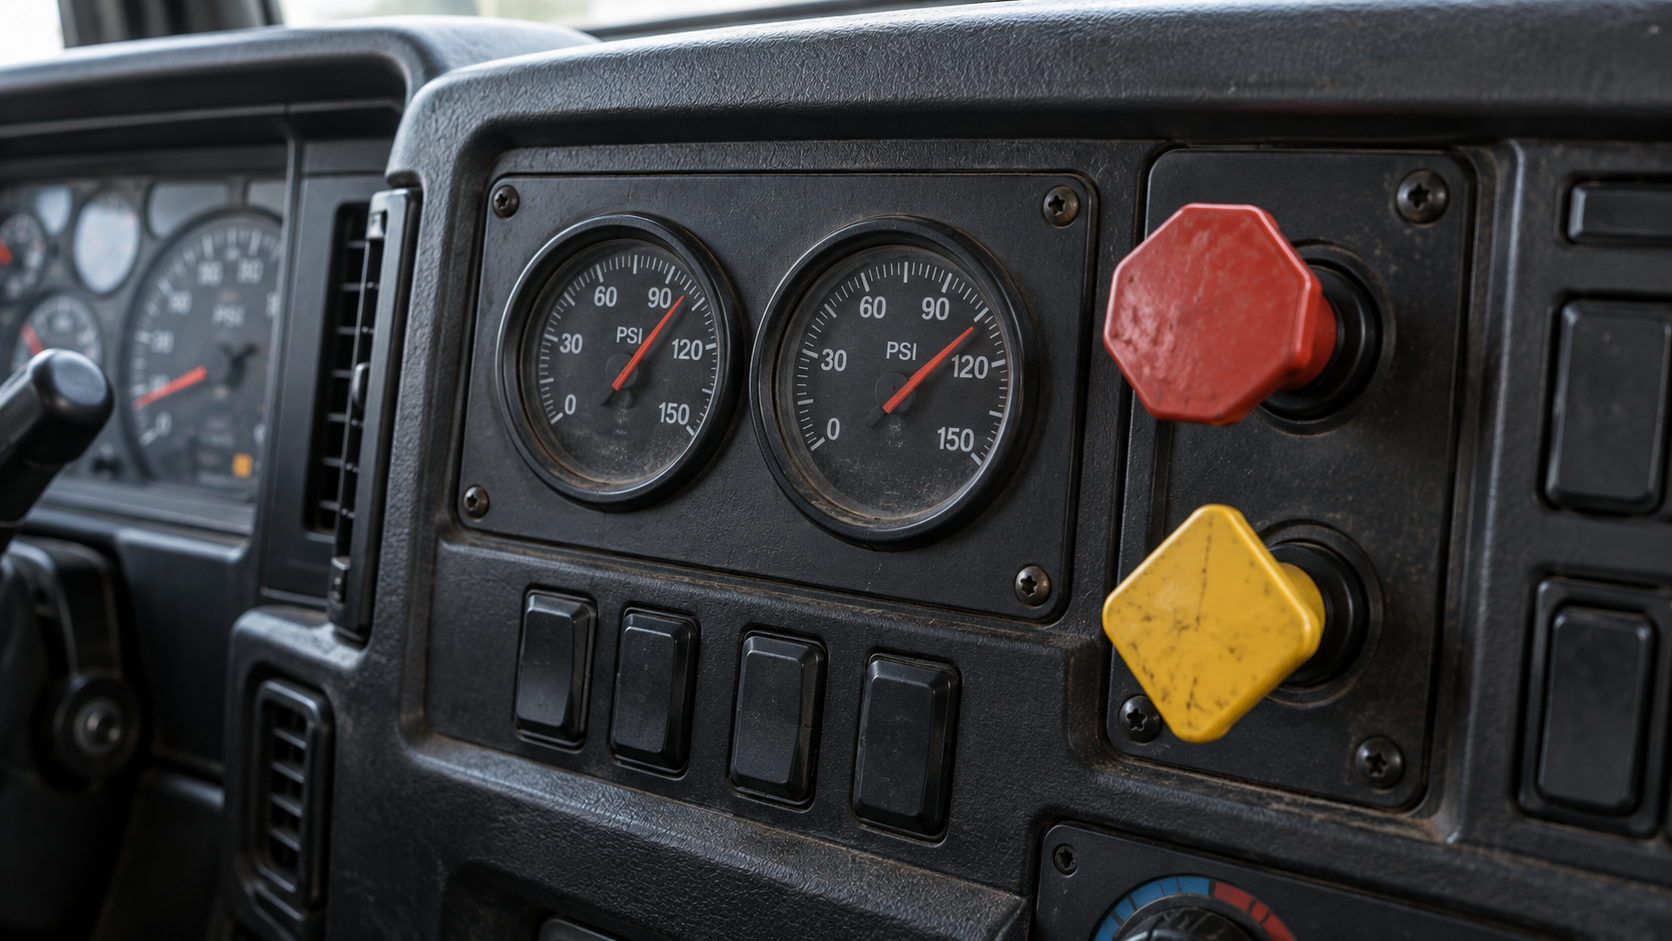
The air system can reveal a leak, a failed warning device, slow compressor recovery or an automatic-brake problem before the truck enters traffic. But each check changes the vehicle condition: some require the engine off, some require the parking brakes released and some deliberately reduce reservoir pressure. Mixing the steps can produce a meaningless reading—or allow the vehicle to move.
This guide uses the current New York State Commercial Driver’s Manual as a concrete example because it publishes the complete values in one official procedure. CDL testing is administered by the States, so applicants must compare this sequence with the current manual and examiner instructions for the licensing State and the specifications for the actual vehicle.
What the federal CDL standards require
49 CFR 383.111 requires drivers of air-braked CMVs to understand system terminology, low-pressure readings, warning devices, air-loss tests and the pressure levels at which warnings and the tractor-protection valve activate. Under 49 CFR 383.113, an applicant in an air-brake-equipped test vehicle must identify the controls and monitoring devices, check connections and system condition, verify the low-pressure warning, confirm adequate air supply and buildup, and check brake performance.
The federal Class A ELDT curriculum also requires training on dashboard controls, gauges, braking systems, inspections and diagnosis of vehicle-system malfunctions. These are connected skills: the gauge reading matters only when the trainee understands what created it and what action follows.
Prepare the vehicle before changing air pressure
- Use the approved location. Choose level, firm ground away from traffic and obstacles.
- Secure against movement. Follow the test-vehicle procedure for transmission position and wheel chocks before any step that releases the parking brakes.
- Inspect first. Confirm the tractor and trailer are properly coupled, air and electrical connections are secure, visible brake components are serviceable and no one is near the wheels.
- Know the instruments. Identify the primary and secondary pressure indications, warning light and buzzer, service-brake pedal, parking-brake control and—on a tractor—the trailer-air-supply control.
- State the condition. Before timing a reading, say whether the engine is running, the electrical power is on, the parking brakes are applied or released and the service brake is released or held.
If a trainee cannot state the starting condition, the number alone is not useful. Build the habit with ProntoCDL’s air-brake component inspection guide and fifth-wheel and connection checklist.
Use one sequence and record each result
| Check | Example procedure from NY CDL-10 | Acceptable result |
|---|---|---|
| Static leakage | Fully charge the system, shut off the engine, release parking brakes and time one minute without applying the service brake. | Loss is less than 2 psi for a single vehicle or less than 3 psi for a combination vehicle. |
| Applied leakage | Hold at least 90 psi on the service brake; after the initial pressure drop, time one minute. | Loss is no more than 3 psi for a single vehicle or 4 psi for a combination vehicle. |
| Low-air warning | Engine off, electrical power on; fan the service brake while watching the lowest-pressure circuit. | Warning activates before pressure falls below 60 psi. |
| Automatic spring-brake application | Continue reducing pressure. | Applicable parking-brake and tractor-protection controls close in the manufacturer’s 20–45 psi range. |
| Pressure buildup | Run the engine at operating rpm and watch both circuits. | A dual system builds from 85 to 100 psi within 45 seconds, subject to the manual’s larger-tank and manufacturer notes. |
| Governor operation | Build pressure to cut-out, then reduce pressure with the engine idling until the compressor cuts in. | The gauge stops rising and later begins rising at the manufacturer’s specified pressures; the manual describes about 125 psi cut-out and about 100 psi cut-in as typical. |
Do not combine the static and applied leakage allowances. The initial pressure drop when the service brakes are applied is not the timed loss. Stabilize the gauge as directed, start the timing at the correct point and watch both circuits rather than reporting only the better reading.
1. Check static air loss
Begin with a fully charged system. After securing the vehicle, shut off the engine and release the parking brakes as the approved procedure directs. Let the system settle, then time the pressure change for one full minute without holding the service brake.
The New York manual uses less than 2 psi loss for a single vehicle and less than 3 psi for a combination vehicle. A reading near the limit deserves disciplined timing—not rounding, guessing or starting the watch before the gauges stabilize. Excessive loss means the vehicle stays out of service until the leak is found and corrected.
2. Check applied air loss
Apply and hold at least 90 psi with the service-brake pedal. The gauge will make an initial drop as air fills the brake chambers. After that drop, time one minute while maintaining steady pedal pressure.
A loss greater than 3 psi for a single vehicle or 4 psi for a combination vehicle is excessive under the cited manual. Keep the pedal position steady; repeated pumping changes the test. Listen for leakage, but never crawl under an unsecured vehicle or attempt a roadside repair beyond your training and authority.
3. Verify the low-air warning
With the engine off and electrical power on, step on and off the service brake to reduce pressure. The warning must activate before pressure in the lowest circuit falls below 60 psi under the New York procedure. Watch both gauges and confirm the required audible and visual indications for the vehicle.
49 CFR 393.51 requires an air-pressure gauge and warning signal, with equipment details that depend partly on manufacture date. That is why a national study guide should not turn one dashboard value into a universal substitute for the State manual and vehicle specification.
4. Verify automatic spring-brake application
Continue fanning the service brake. On a tractor-trailer, the trailer-air-supply and parking-brake controls should close as pressure falls; on a straight truck or other configuration, the applicable parking-brake control should close. The cited manual gives the manufacturer’s 20–45 psi range.
Do not push the controls back in to force a result at low pressure. State what happened, record the pressure range and stop the test if the automatic application or tractor protection function does not behave as required.
5. Rebuild pressure and check the governor
Start the engine using the approved neutral-start procedure and build pressure. For a dual system, the New York manual calls for 85 to 100 psi within 45 seconds at operating rpm, while noting that larger-than-minimum reservoirs can require more time and that manufacturer specifications must be checked.
Continue to the governor cut-out point, where pressure stops rising. Then reduce pressure with controlled brake applications until the compressor cuts in and the gauges rise again. The manual describes roughly 125 psi cut-out and 100 psi cut-in as typical, but the pass/fail decision belongs to the manufacturer and State procedure—not the approximate study numbers.
6. Finish with parking- and service-brake response
After normal pressure is restored and the area is clear, test that the parking brake holds by gently pulling against it in the specified low gear. Then release it, move forward slowly—about 5 mph in the cited manual—and apply the service brake firmly. The vehicle should stop without pulling, delayed response or an abnormal feel.
This final movement check is not a substitute for the leakage and warning tests. It answers a different question: does the assembled vehicle respond correctly when the brakes are actually applied?
Common practice errors
- Releasing parking brakes before the wheels and work area are secured.
- Timing the initial service-application drop as if it were ongoing leakage.
- Watching one pressure circuit and ignoring the other.
- Confusing “less than” with “no more than” when stating a limit.
- Fanning the brake during a timed leakage check.
- Calling every knob pop-out the same event instead of identifying parking-brake and tractor-protection functions.
- Using approximate governor values as universal specifications.
- Passing an in-cab test while ignoring a visible hose, chamber, adjuster or lining defect.
A safe closed-yard practice drill
- Use a qualified instructor and the actual State checklist for the training vehicle.
- Write the starting condition for every check on separate cards.
- Have the trainee point to each gauge, warning and control before touching it.
- Run the sequence at normal speed while the instructor records the actual readings.
- Repeat using a verbal callout: condition, action, observed value, limit and decision.
- Finish with a walkaround so pressure-test results stay connected to physical brake components.
Use the Class A ELDT guide, ProntoCDL study guides and free CDL practice center to reinforce the system vocabulary between hands-on sessions.
Practical takeaways
- Secure the vehicle before any test that releases parking brakes.
- Name the exact engine, electrical, parking-brake and service-brake condition before reading a gauge.
- Run static and applied leakage tests separately and time only after stabilization.
- Watch both primary and secondary circuits throughout the sequence.
- Verify the low-air warning before the applicable threshold, then confirm automatic brake application in the vehicle’s specified range.
- Use manufacturer values for buildup and governor operation when they differ from typical study figures.
- End with controlled parking- and service-brake response checks in a clear area.
- Treat any failed result as a stop-and-repair decision, not a test-taking inconvenience.
CDL air-brake test FAQ
What are the maximum air-loss rates in the CDL manual?
The current New York CDL manual uses less than 2 psi in one minute for a single vehicle and less than 3 psi for a combination vehicle with the system charged, engine off and parking brakes released. With at least 90 psi held on the service brake, a loss greater than 3 psi for a single vehicle or 4 psi for a combination vehicle after the initial drop is excessive. Use the exact procedure and limits in your State manual and for your test vehicle.
When must the low-air warning activate?
The current New York CDL manual says the warning must activate before pressure drops below 60 psi in the lowest-pressure reservoir of a dual system. Federal equipment rules contain manufacture-date-specific requirements, so applicants should follow their State testing procedure and the vehicle manufacturer’s information rather than substitute a memorized number from another vehicle.
At what pressure should the parking-brake and tractor-protection controls pop out?
The New York CDL manual gives the manufacturer’s range of 20 to 45 psi. On a tractor-trailer, the trailer-air-supply and parking-brake controls should close as pressure falls; on other vehicles, the applicable parking-brake control should close. The actual vehicle specification and State test procedure control.
Should I release the parking brakes during an air-leak test?
The common static leakage procedure requires released parking brakes, which is why vehicle securement comes first. Use level ground, chock the wheels as required, keep the transmission in the specified safe position and follow the examiner, carrier and manufacturer procedure. Never release a parking brake on an unsecured vehicle.
Is the air-brake check the same in every State?
No. Federal rules define required knowledge and skills, but States administer the CDL skills test and publish their own manuals and examiner procedures. The order, wording and some vehicle-specific values can differ. Study the current manual for the licensing State and practice in the actual vehicle type.
Does passing the in-cab air test prove every brake is safe?
No. The in-cab test checks pressure behavior, warnings, automatic application and basic brake response. It does not replace the walkaround inspection of hoses, chambers, adjusters, drums or discs, linings, connections and other brake hardware, nor does it replace qualified maintenance when a defect appears.
Condition. Action. Reading. Decision.
Practice the air-brake sequence until every number is tied to the correct vehicle condition and a clear safety decision.
Start free CDL practice